In your account, you can create a growth tool called "Reaction to stories". Automation will allow you to launch a bot and perform other actions on subscribers who responded to published stories.
Important! If 24 hours have passed since the story was published, you won't be able to create a new growth tool for it. But the one you've already created will continue to work even after the story becomes inactive.
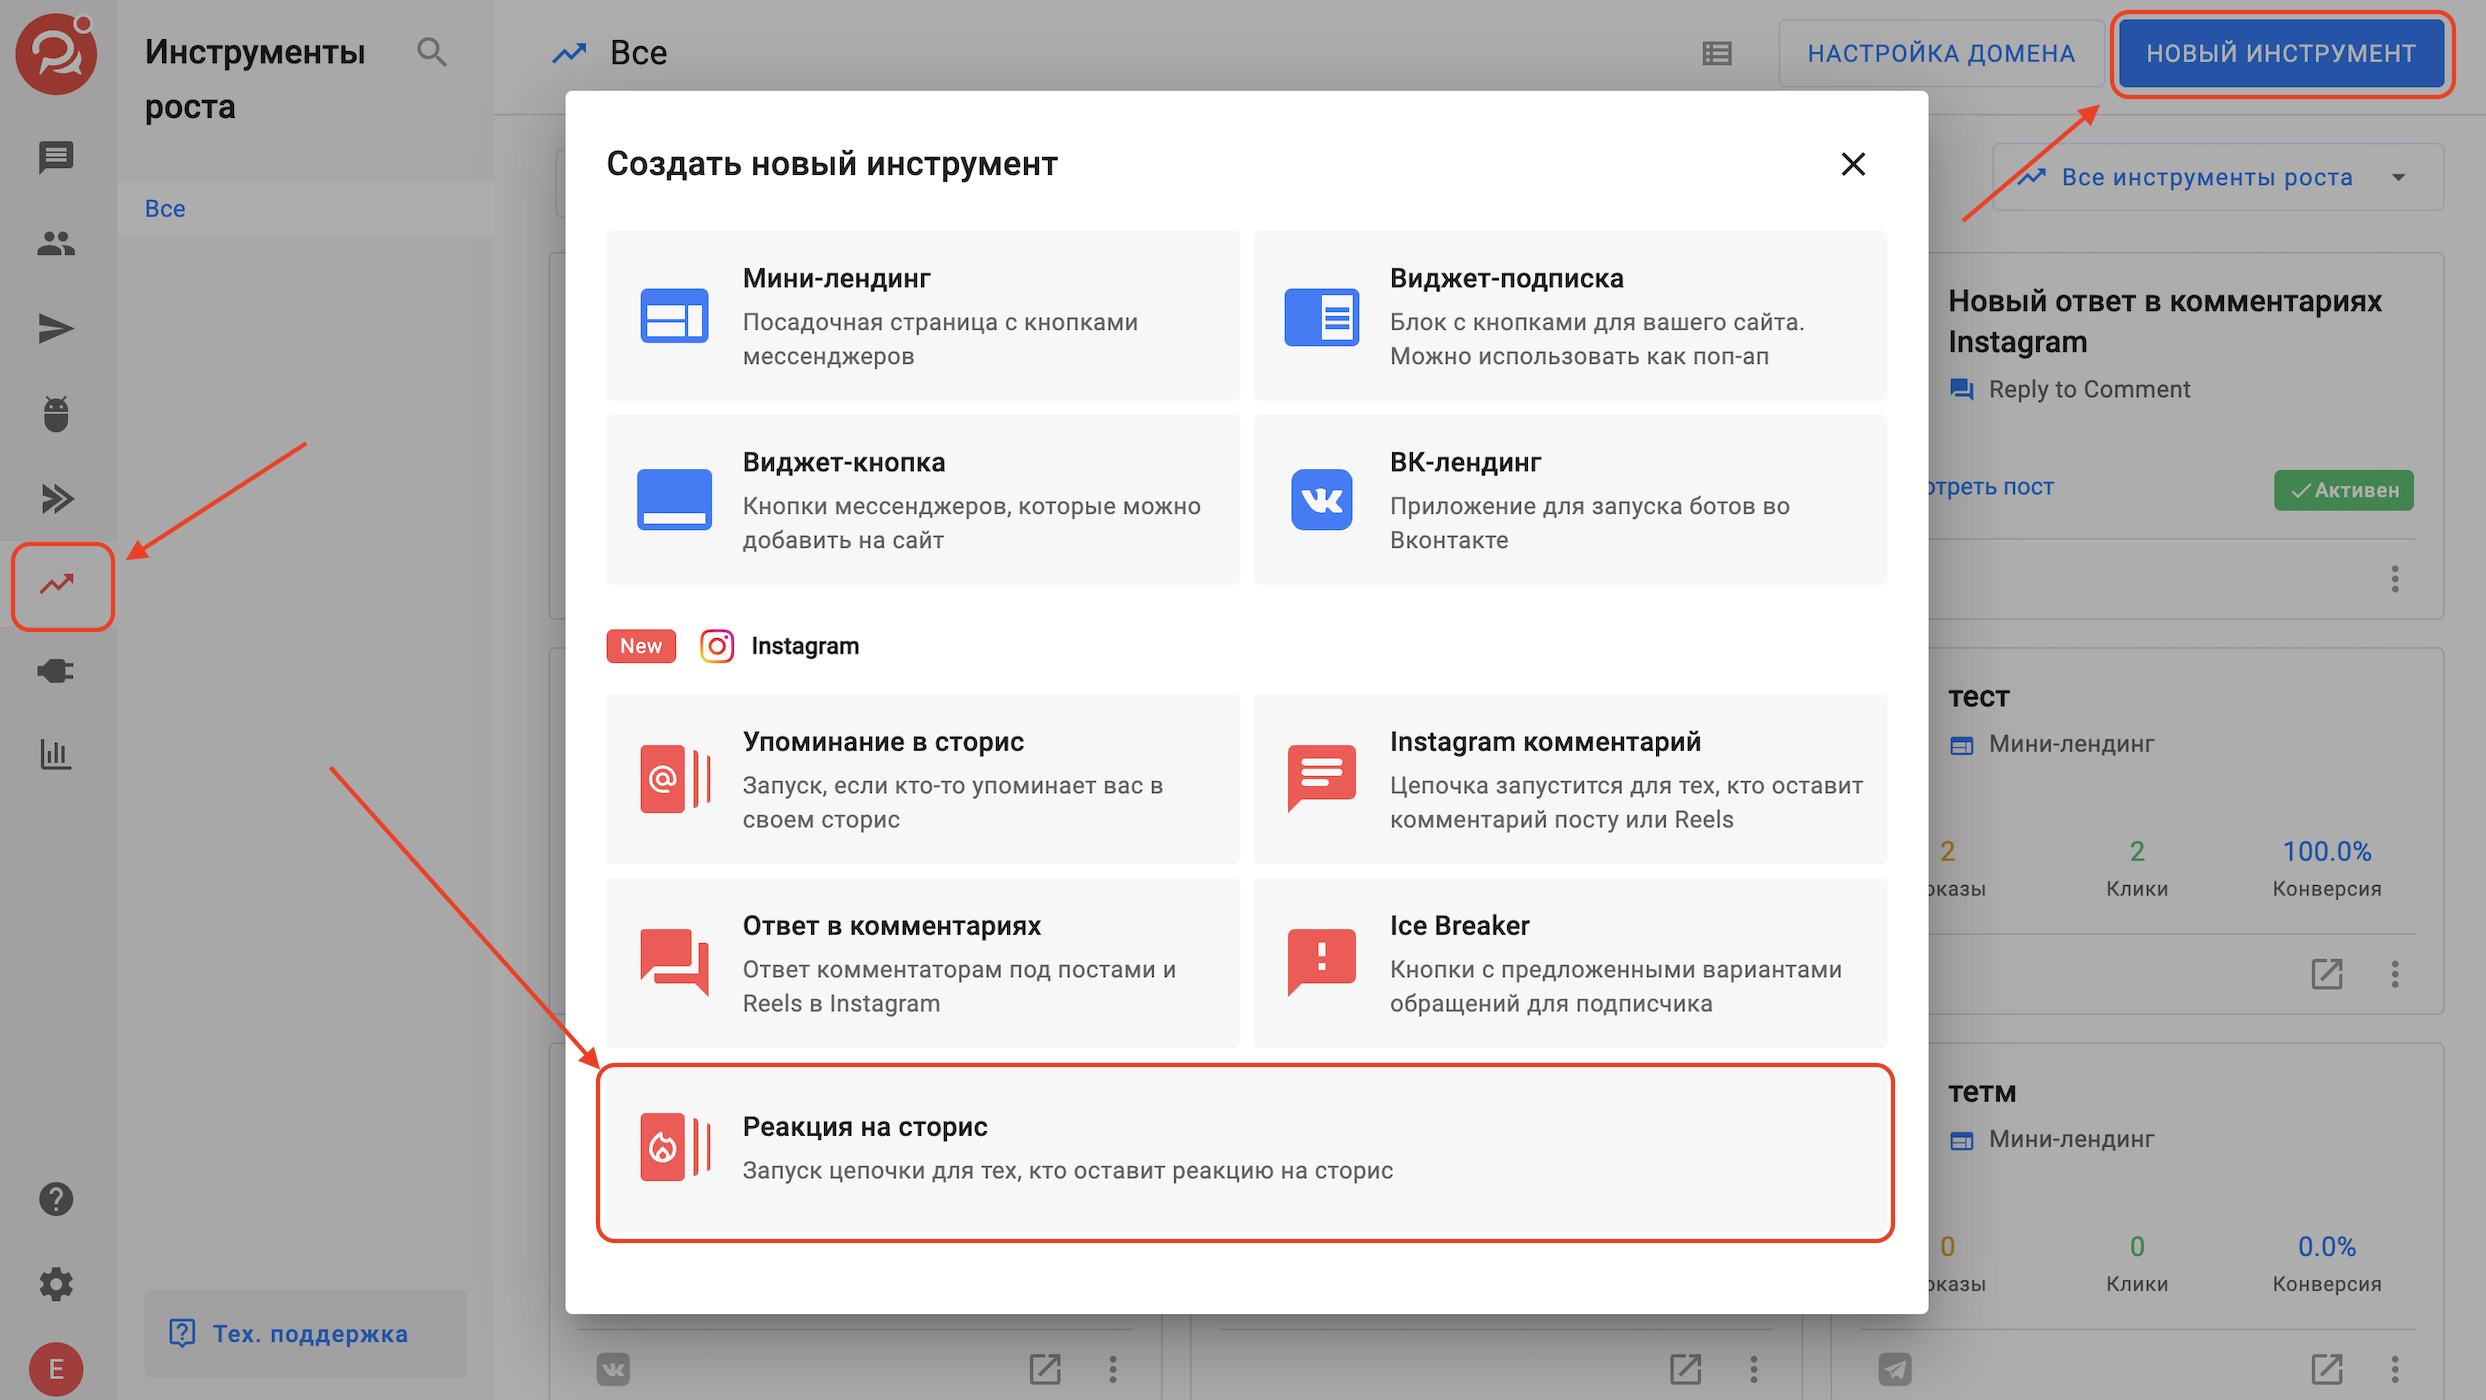
Setting up the growth tool
1. Go to the Growth Tools section on the BotHelp platform.
2. Click the New Tool .
3. In the window that appears, click on the Reaction to story .
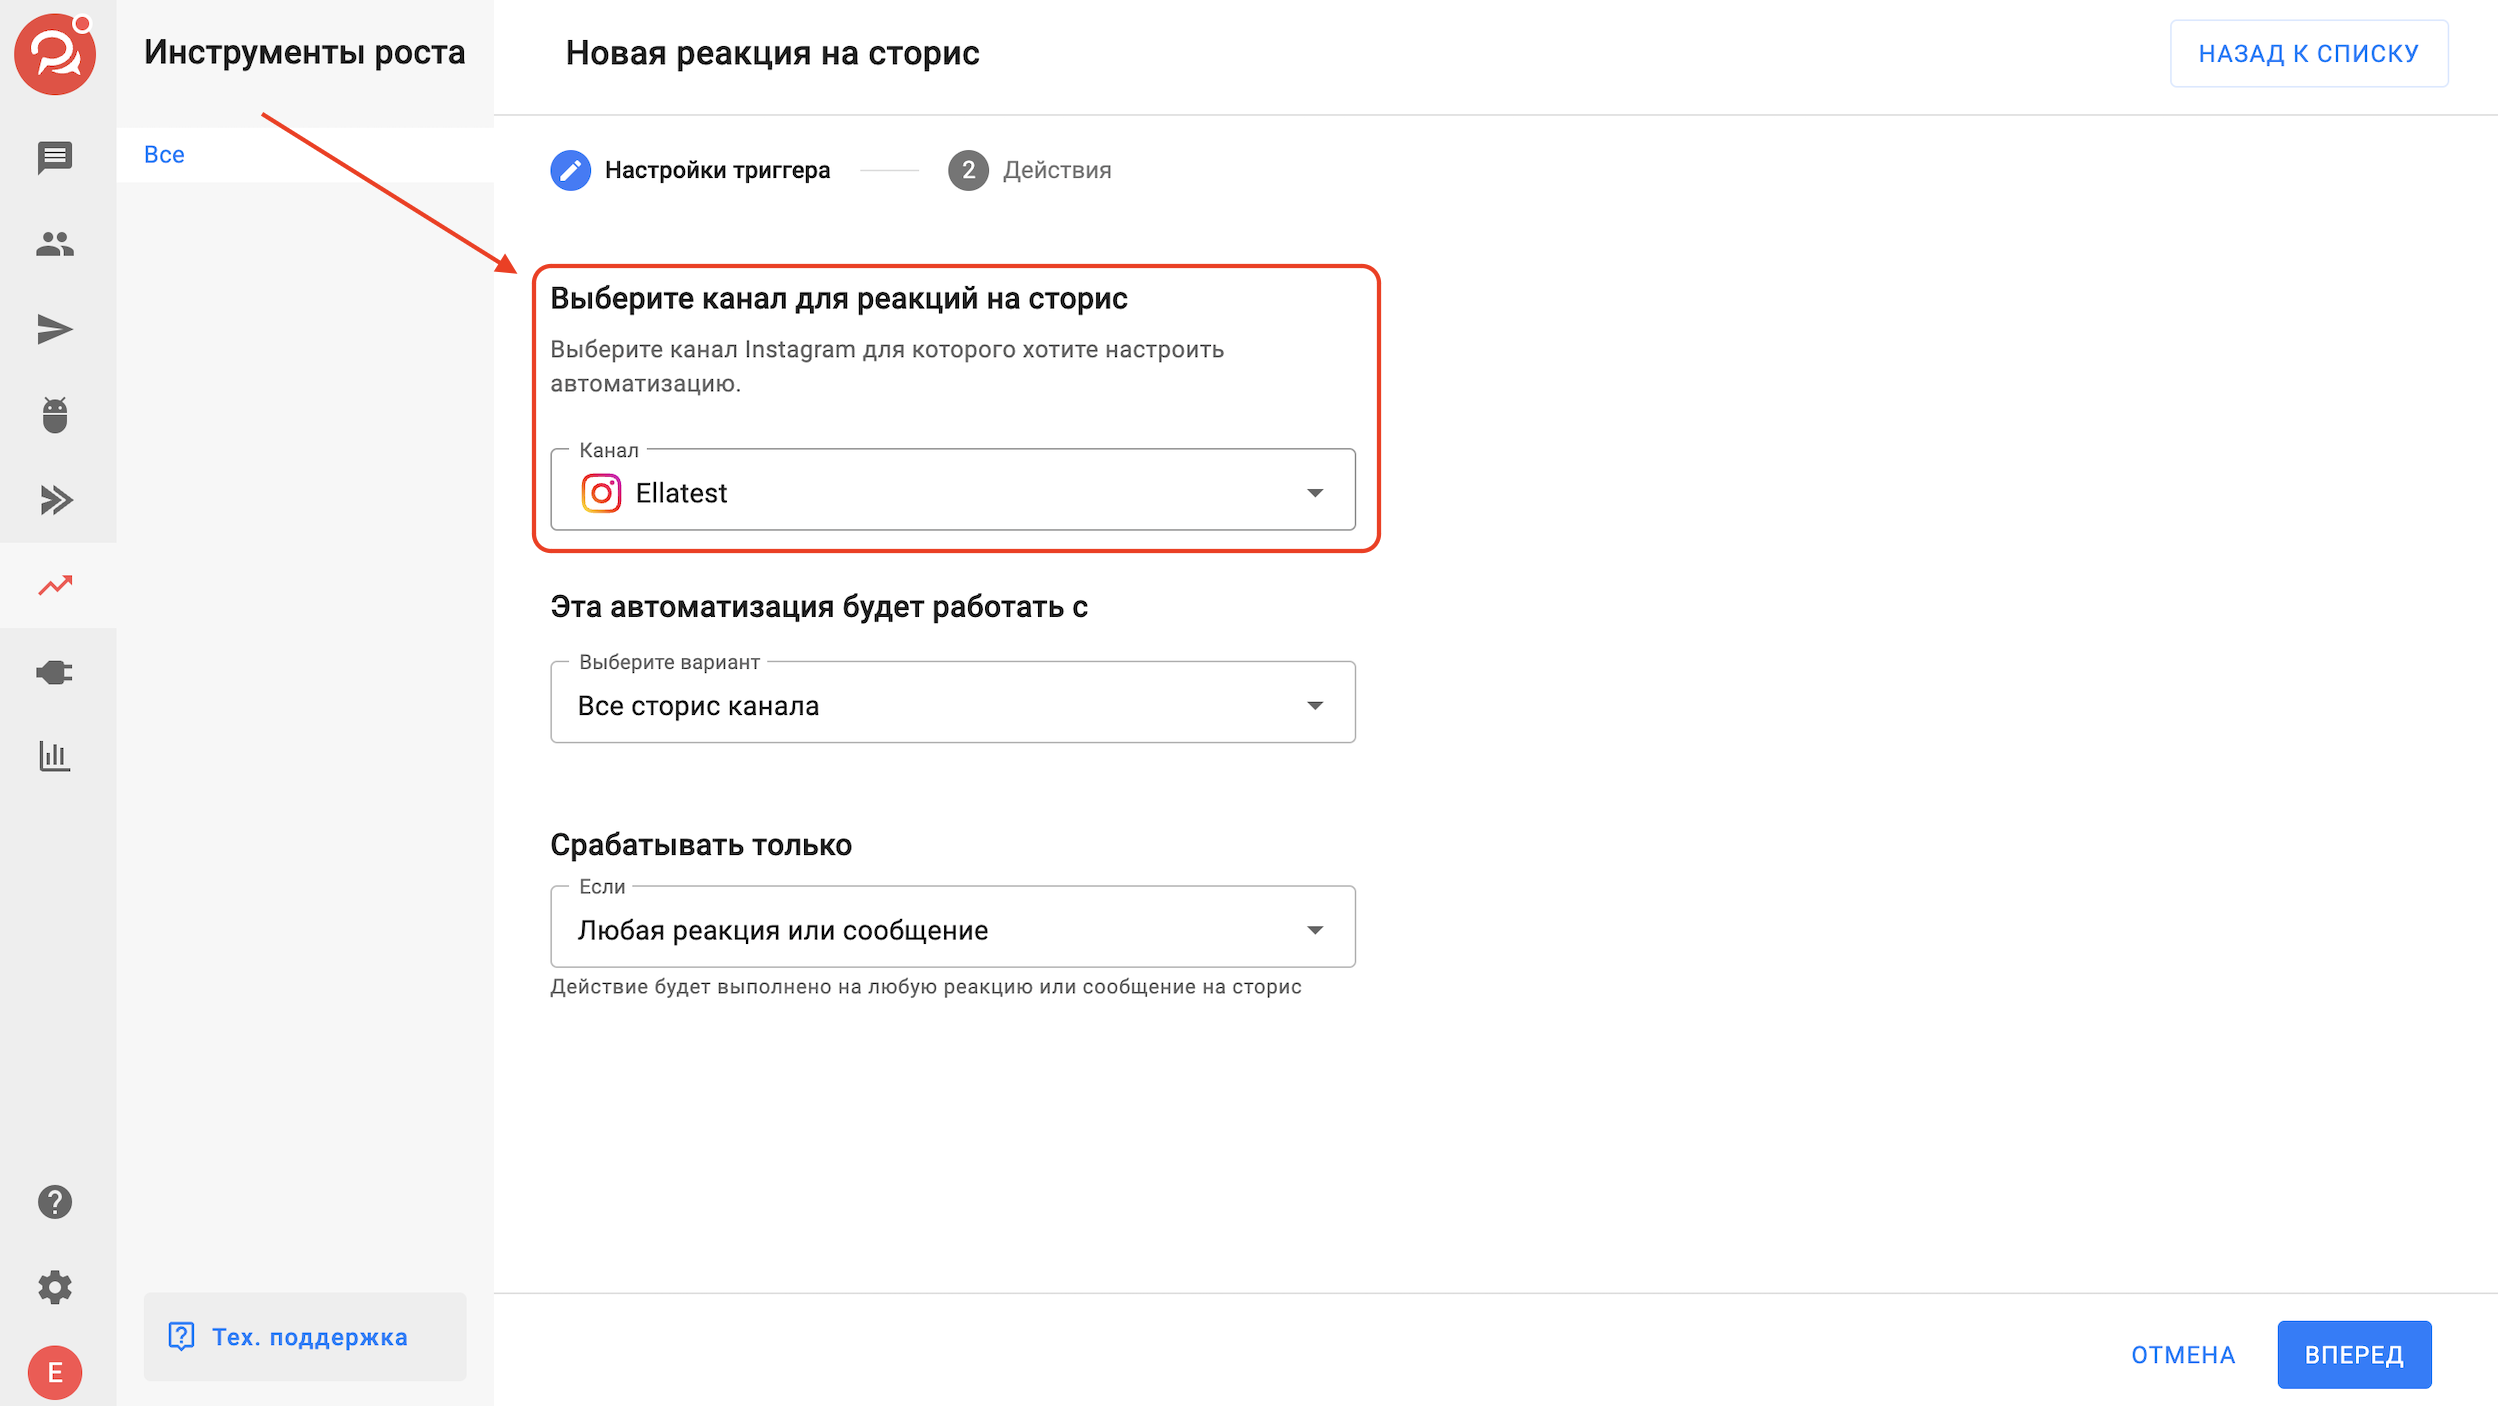
The trigger settings page will open.
4. Select the Instagram account* for which you want to enable automation.
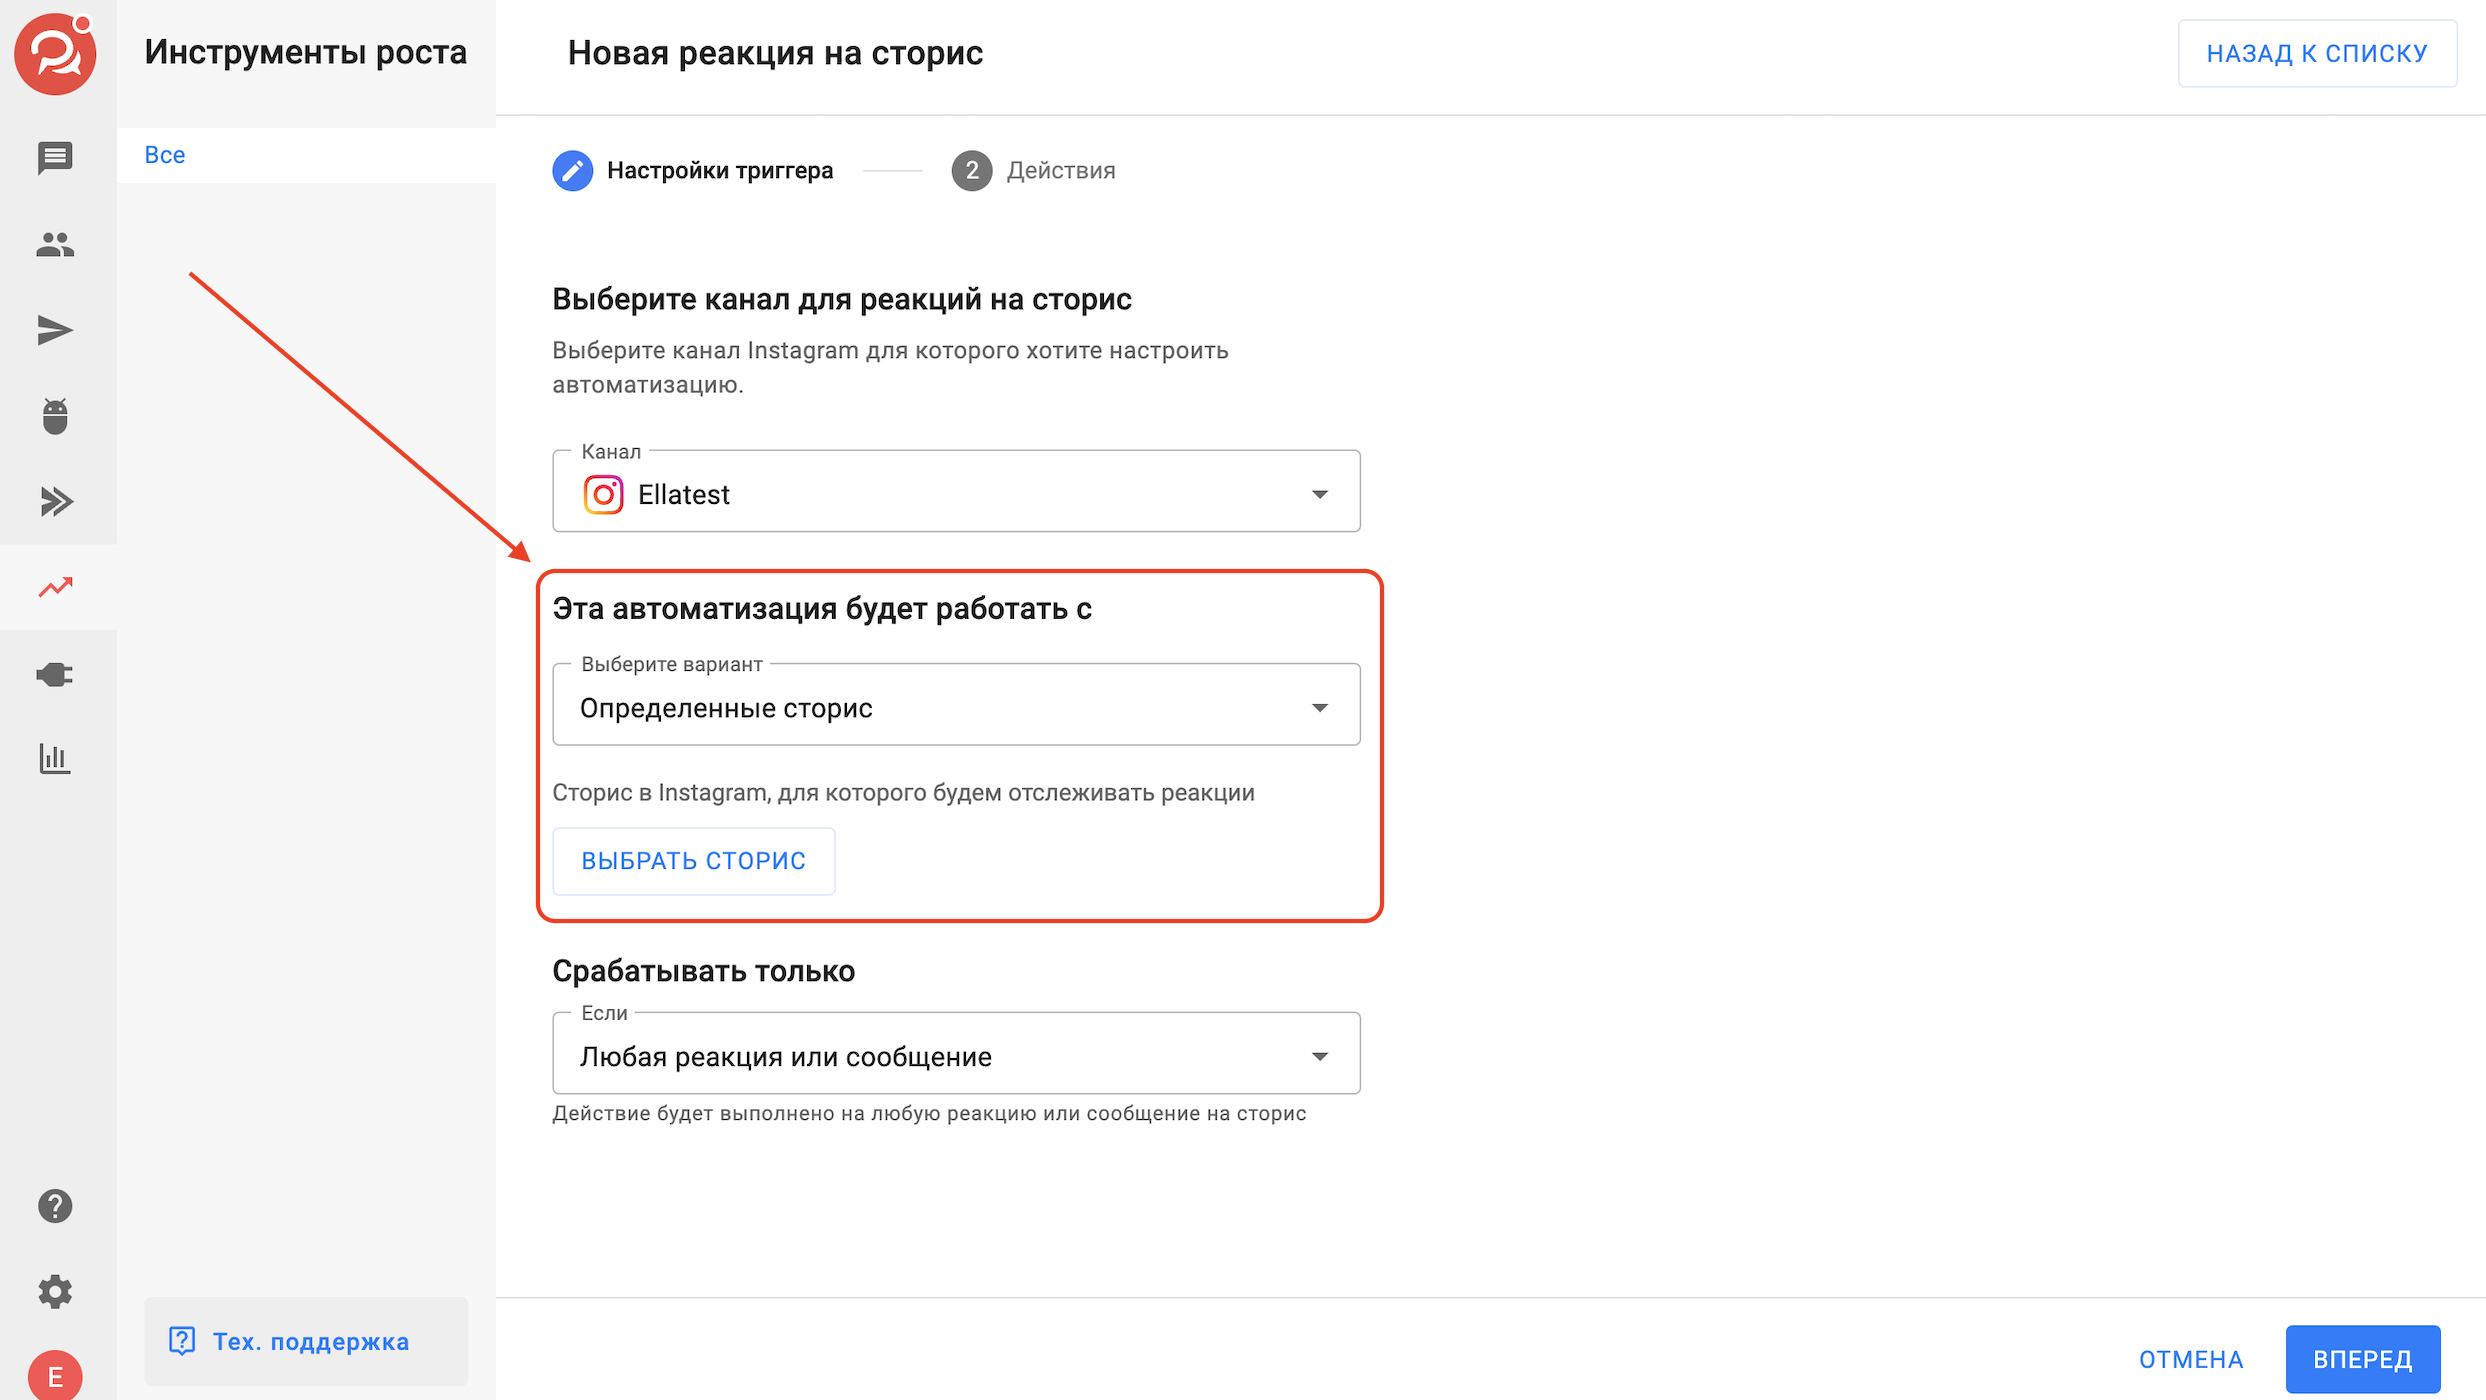
5. To make the automation trigger for a specific story, in “This automation will trigger from…” select the “Specific stories” option and click the “Select stories” button.
Or select the "All Channel Stories" option to have the automation run for all published stories.
Important: Don't forget to turn on VPN before clicking "Select Stories" so that all stories load correctly.
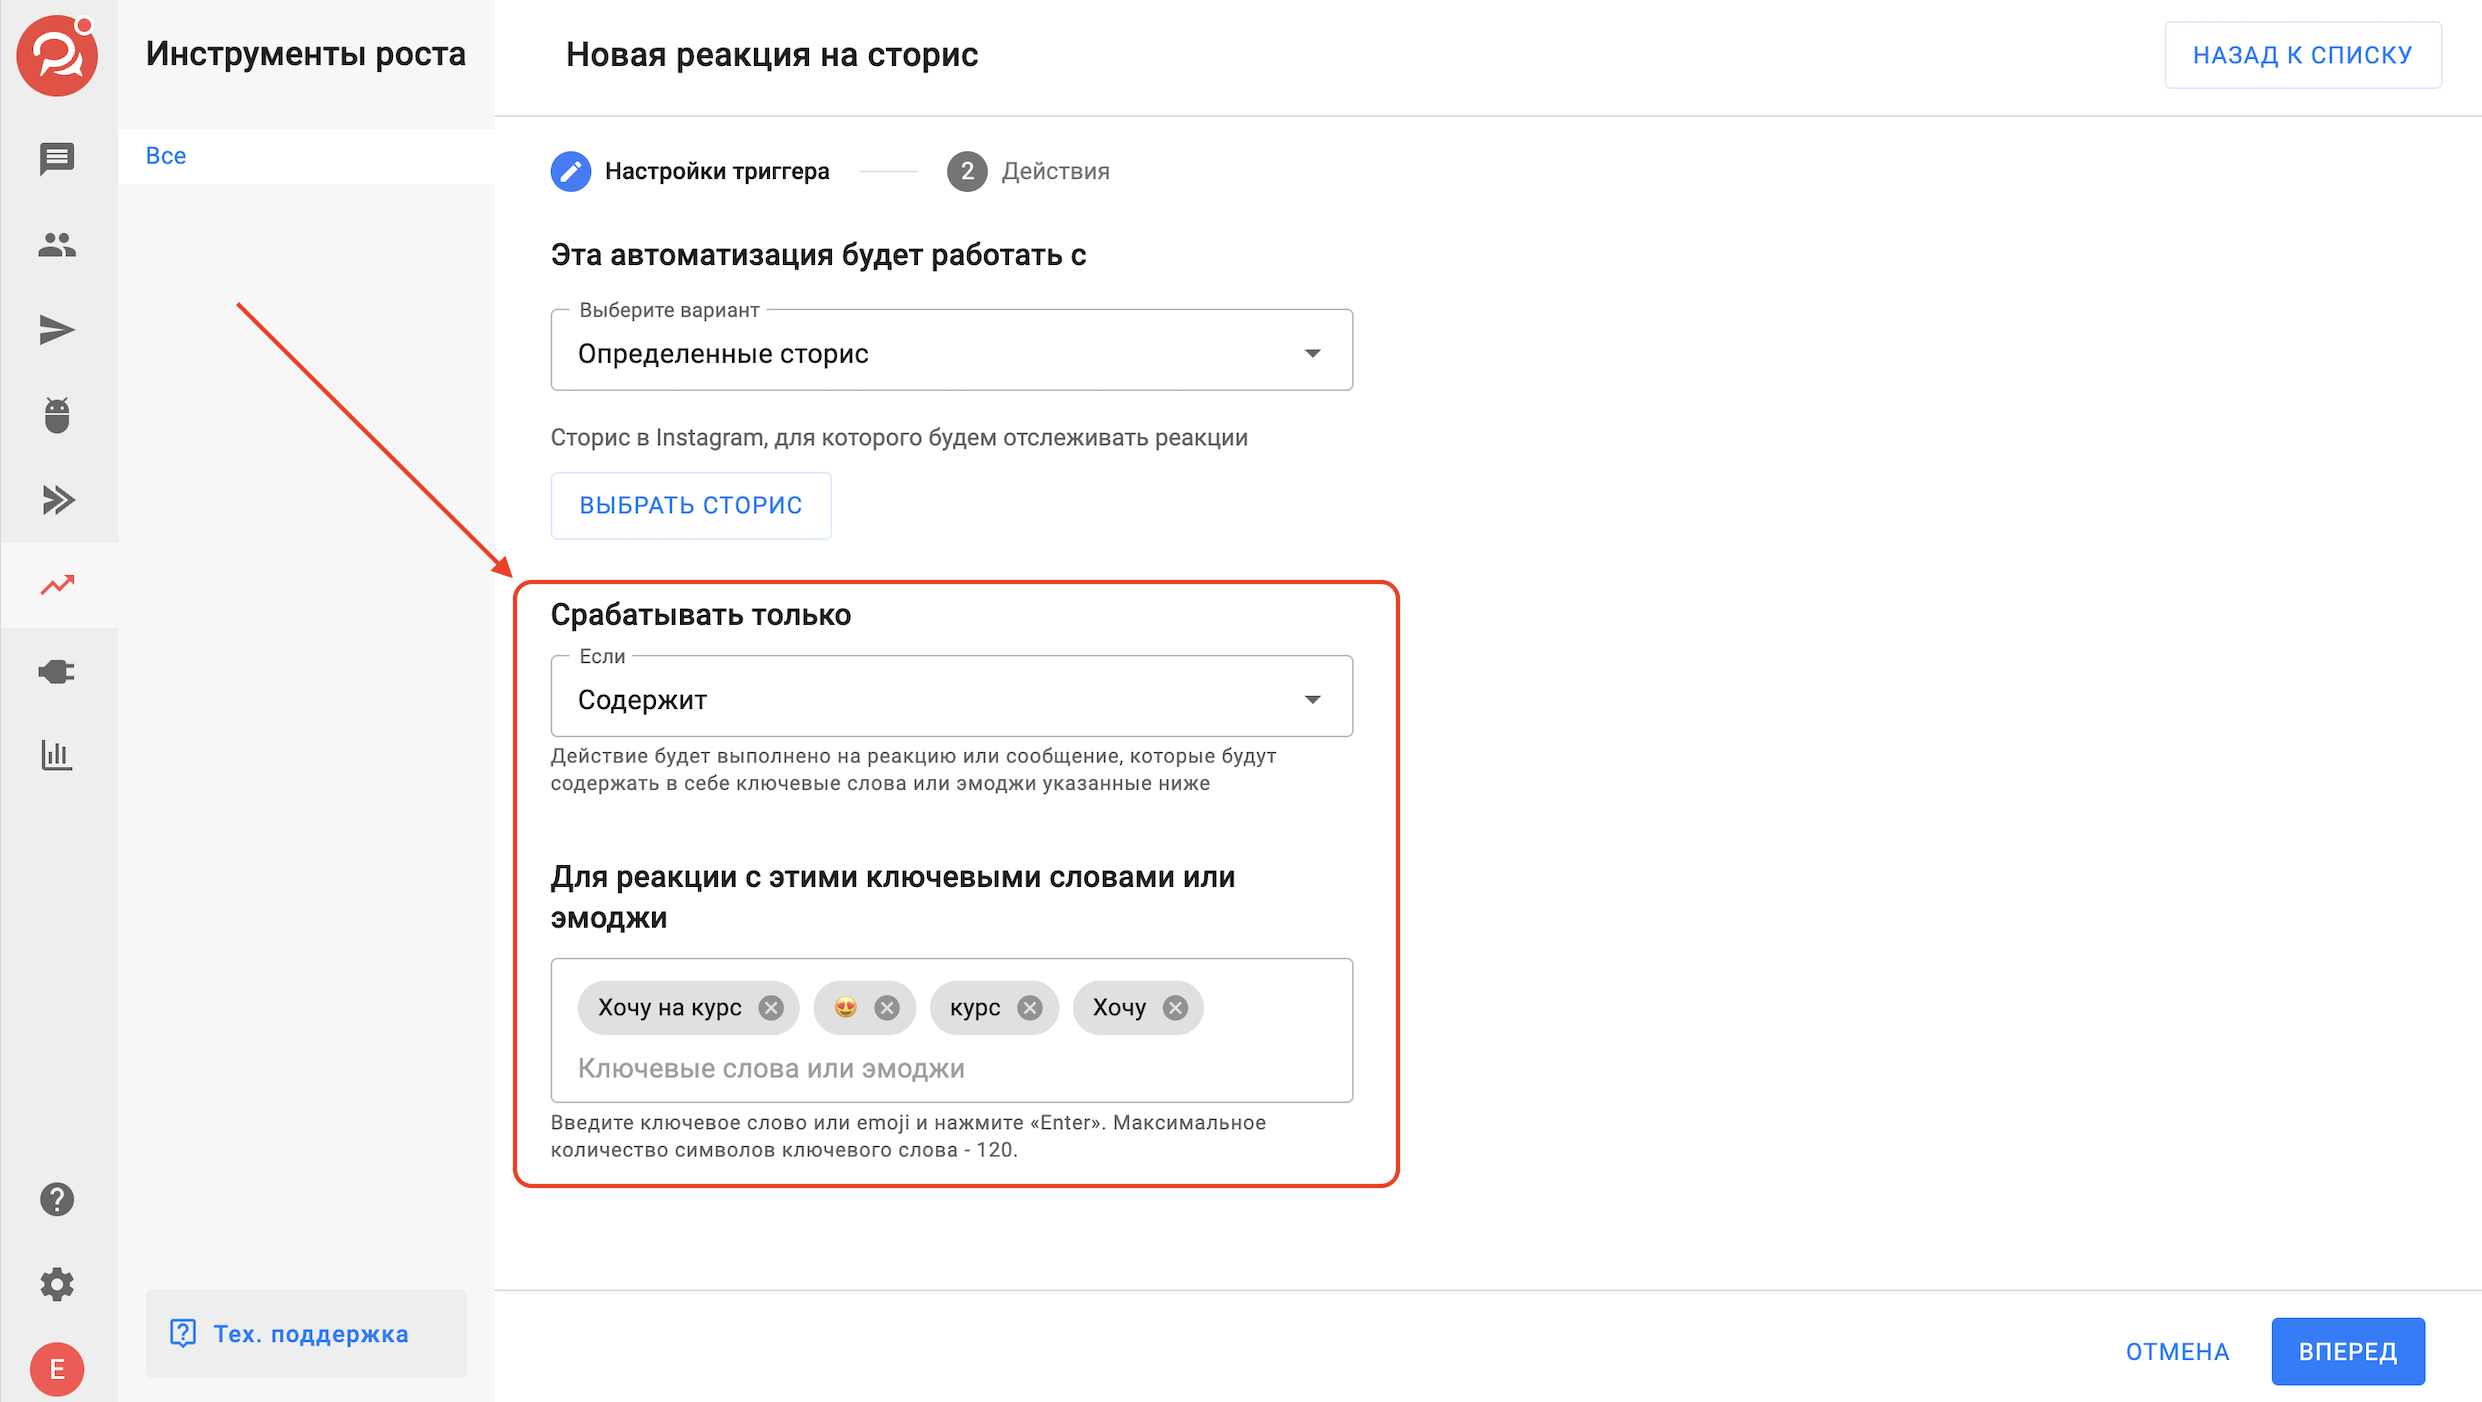
6. To make the automation trigger on a keyword/emoji that matches 100%, in “Trigger only…” select “Matches” and enter the keyword/emoji.
To make the automation trigger based on the content of words in the text, select the "Contains" option and enter keywords/emoji.
So, if you set the keyword "course", then the automation will also trigger for "I want a course".
Important! There is currently no way to set up automation that will trigger when a user likes a story.
7. On the second page, in the Actions tab, select the actions that should be performed after a subscriber reacts to a story.
You can select one or more of the following actions:
— add/remove a tag;
— set/clear field;
— increase/decrease the field by a certain amount;
— sign/unsubscribe;
— send subscriber data to email;
- send subscriber data via webhook.
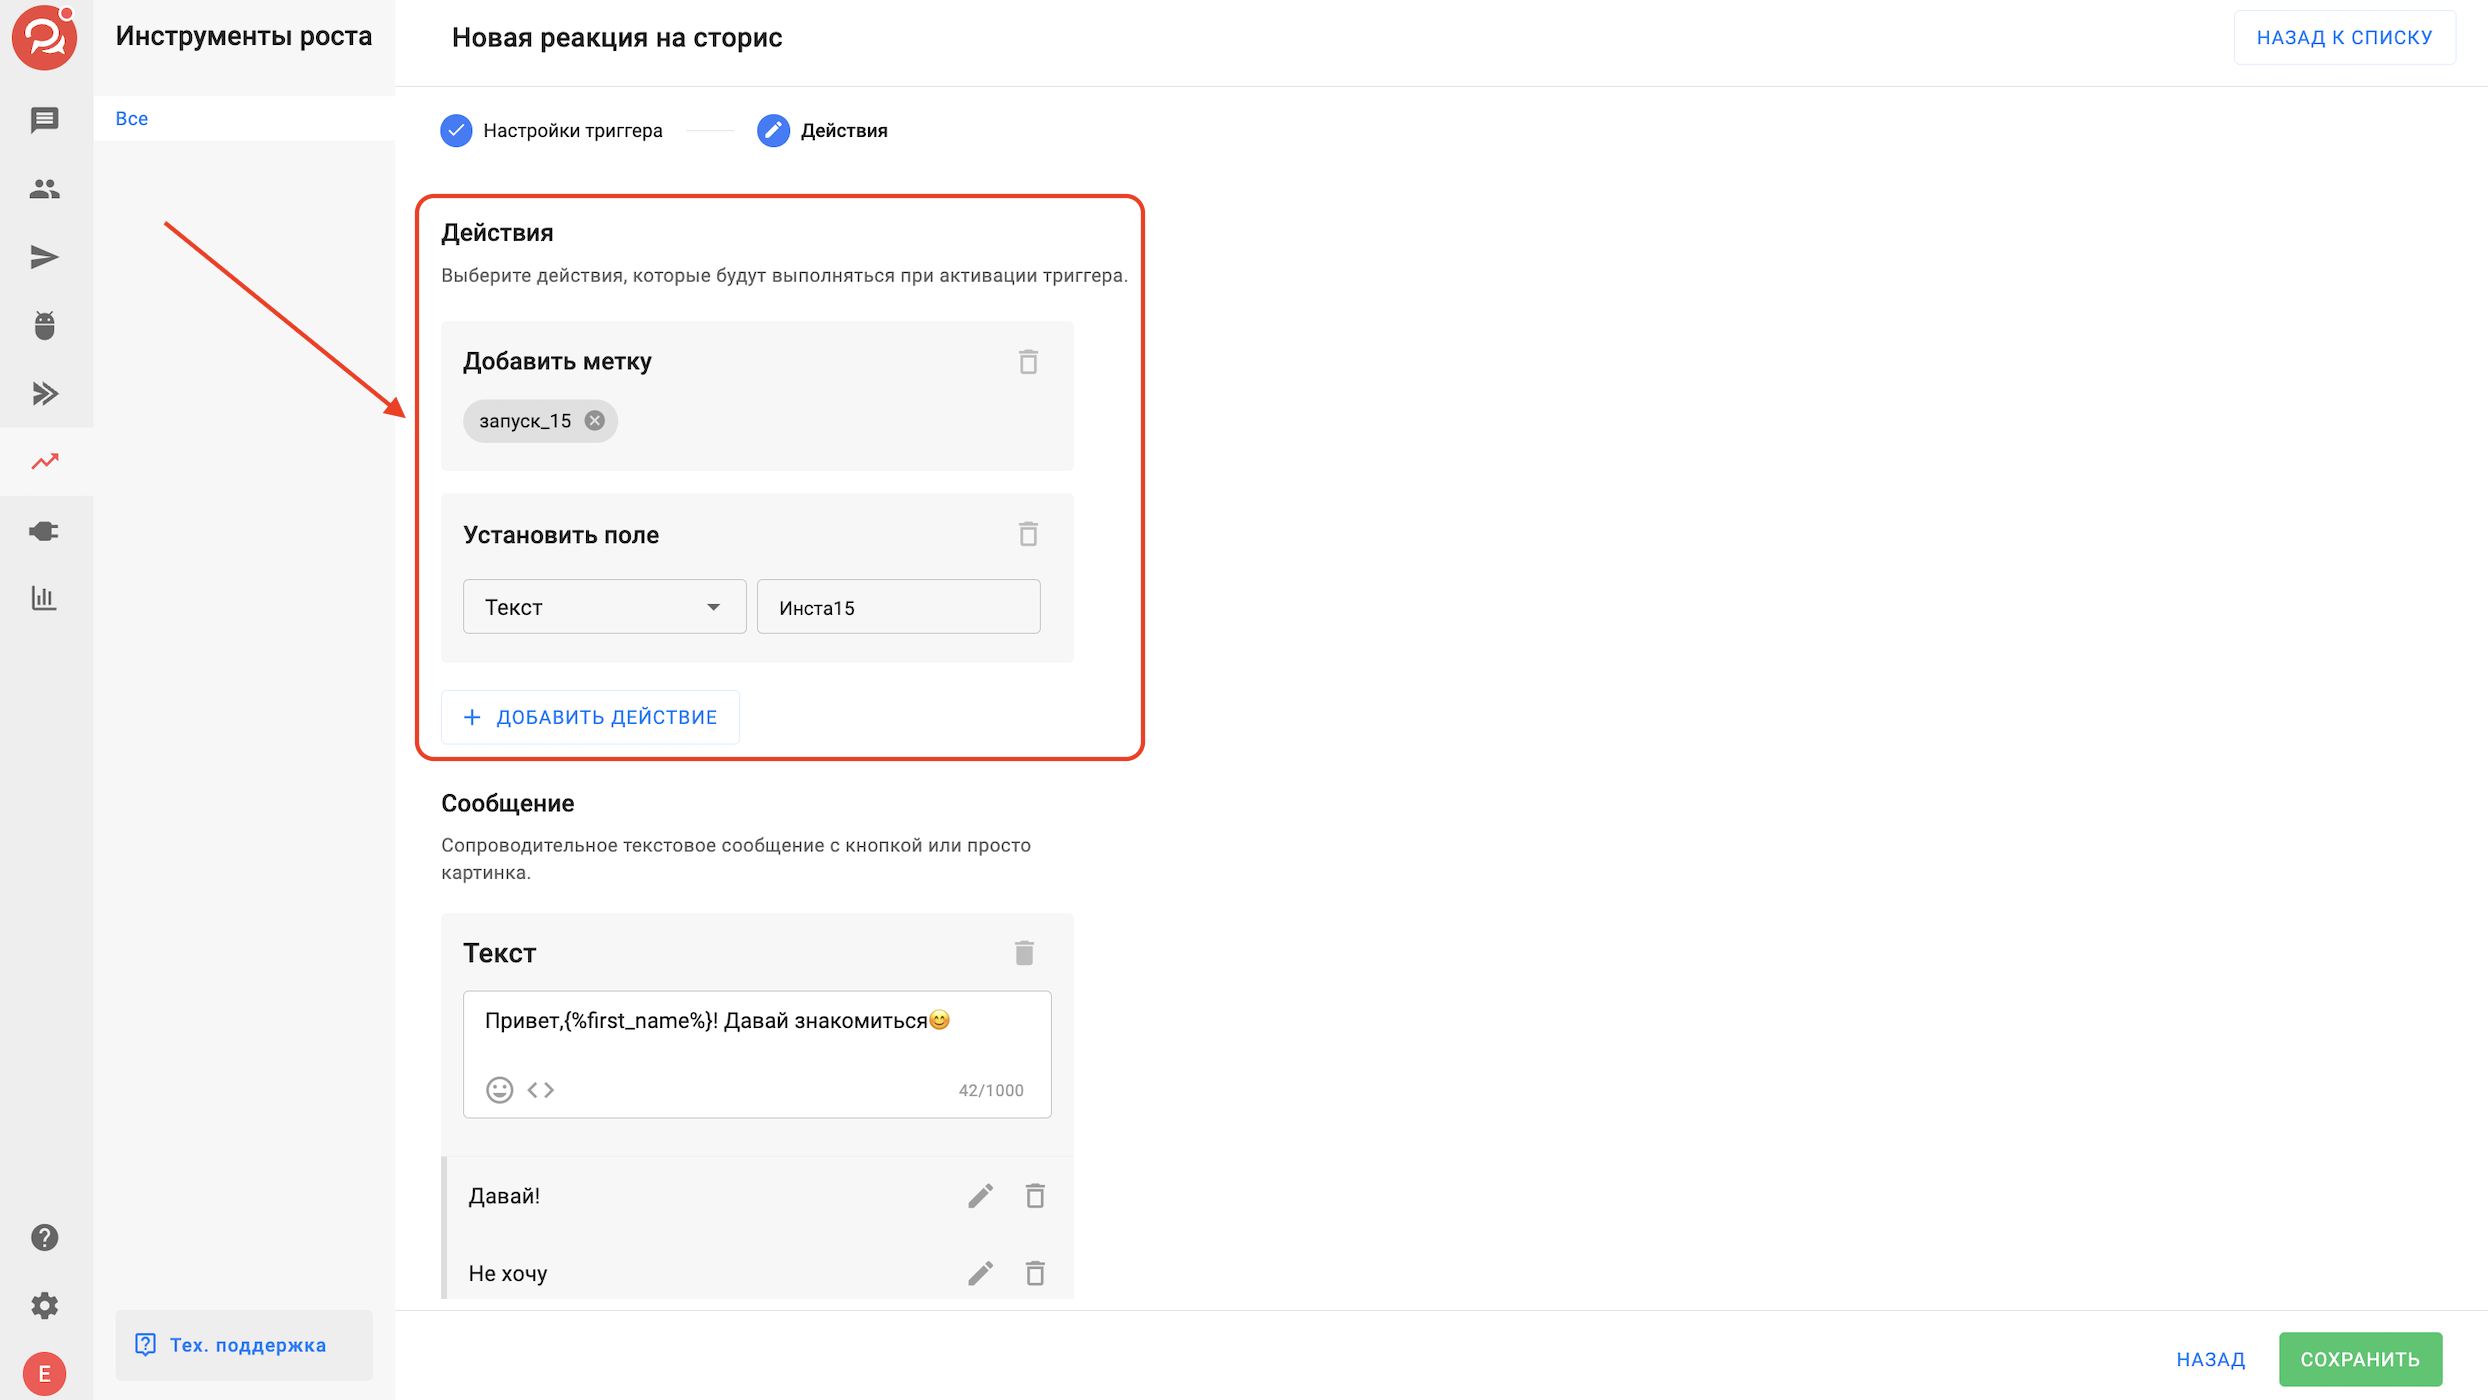
8. You can add an accompanying message: text with a button or just a picture. The message will be sent to the subscriber's direct before the actions listed above are performed.
Important! You can subscribe a user to the bot via the action button in the cover letter.
You can also use the action button to:
— add/remove a tag;
— set/clear field;
— increase/decrease the field by a certain amount;
— sign/unsubscribe;
— send subscriber data to email;
— send subscriber data via webhook;
— open a chat with the agent.

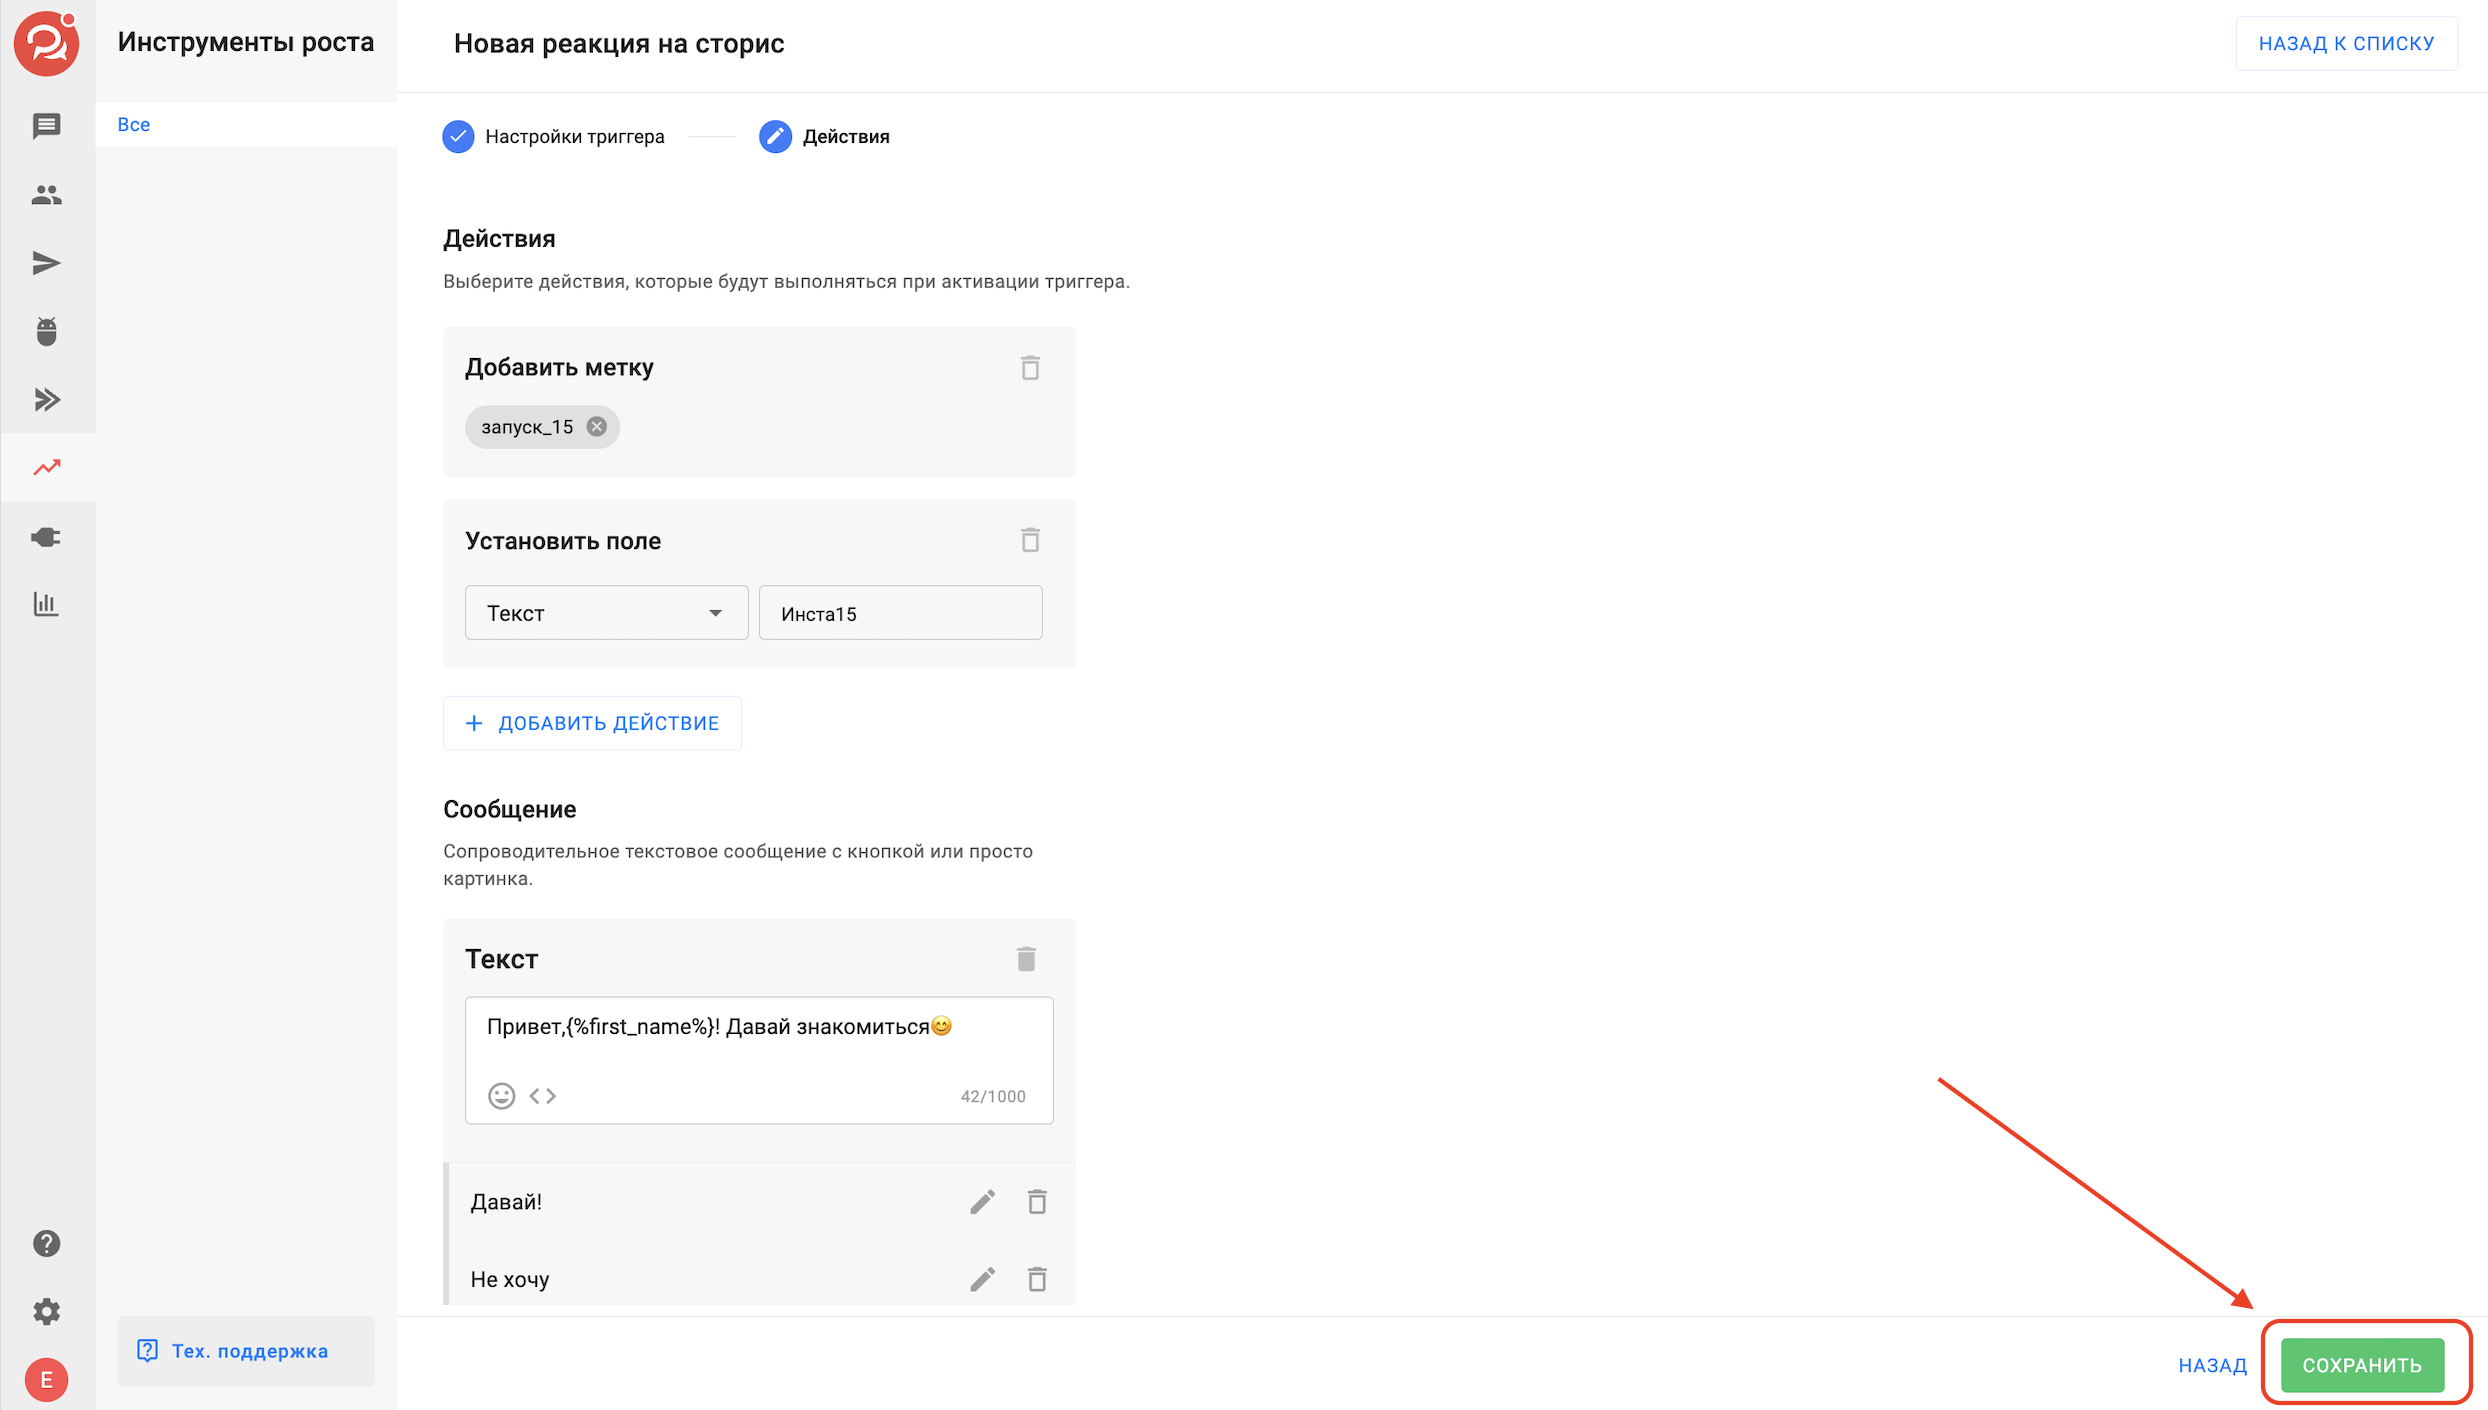
Once you've set up your message and all the necessary actions, click Save and Activate .
Now, when a subscriber reacts to your story, the actions you set up will be performed automatically.
A notification will be sent to the subscriber's conversation for whom this growth tool was launched.
* Belongs to the Meta organization, recognized as extremist and banned in Russia.
If you have not found the answer to your question, ask us in the chat inside your account or write to BotHelpSupportBot or to hello@bothelp.io
Get 14 days of full functionality of the platform for creating mailings, autofunnels and chatbots BotHelp.