A mini-landing is a short landing page with messenger buttons.
When you click the subscribe button, the messenger application installed on the device opens, as well as a dialogue with the selected channel. When the conversation starts, the selected bot is launched.
Creation
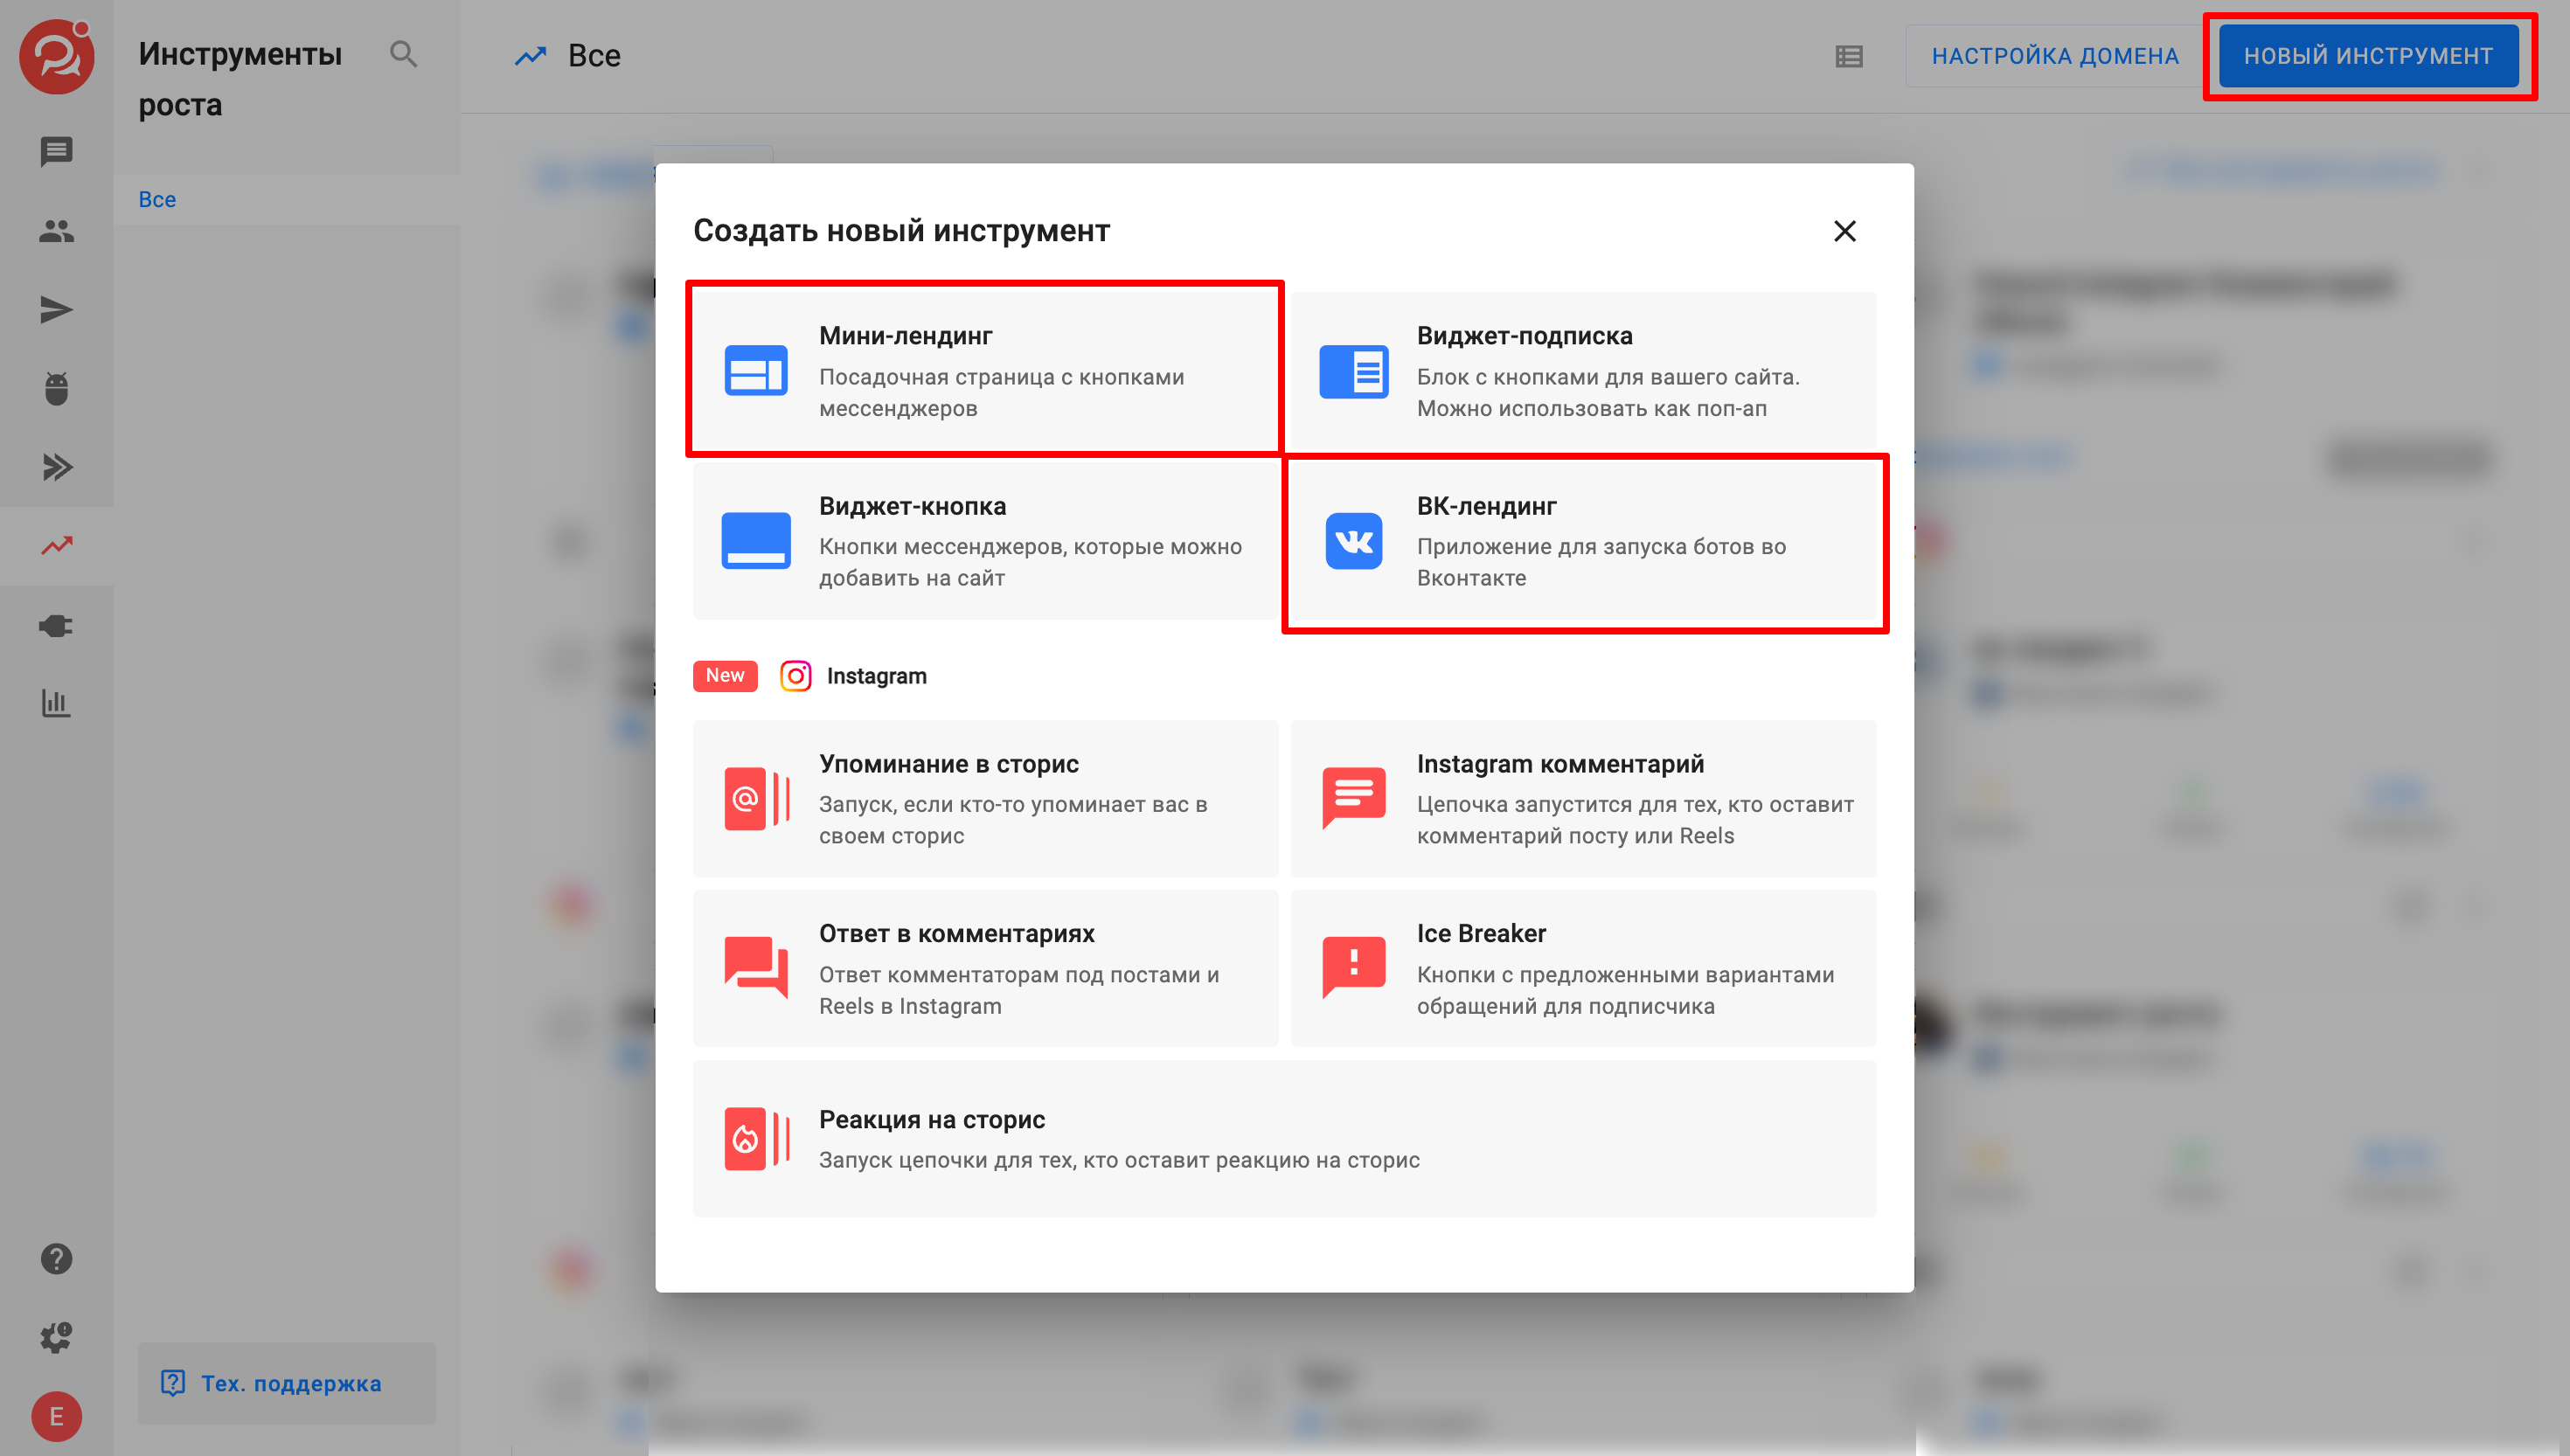
To create a new mini-landing, go to the "Growth Tools" section and click on the New Tool . Select creating a VKontakte landing or Mini-landing .
Setting
1. Name
Give the landing page a name. It will only be visible to you, so give it one that will help you distinguish your landing pages.
2. Image
Add an image from your computer. This is optional, but an image will make the landing page more personalized and memorable.
The recommended image size is 1200×300px, up to 100 KB, but others will do.
3. Video
Add a link to the video. Videos from YouTube, VK, Rutube, Dzen and BotHelp Storage are supported.
Videos can only be added if you have not added an image.
- To add a video, paste the link to it into the input field
- To add a video from Dzen, go to the "Share" section, "Embed" and copy part of the link from the skin below
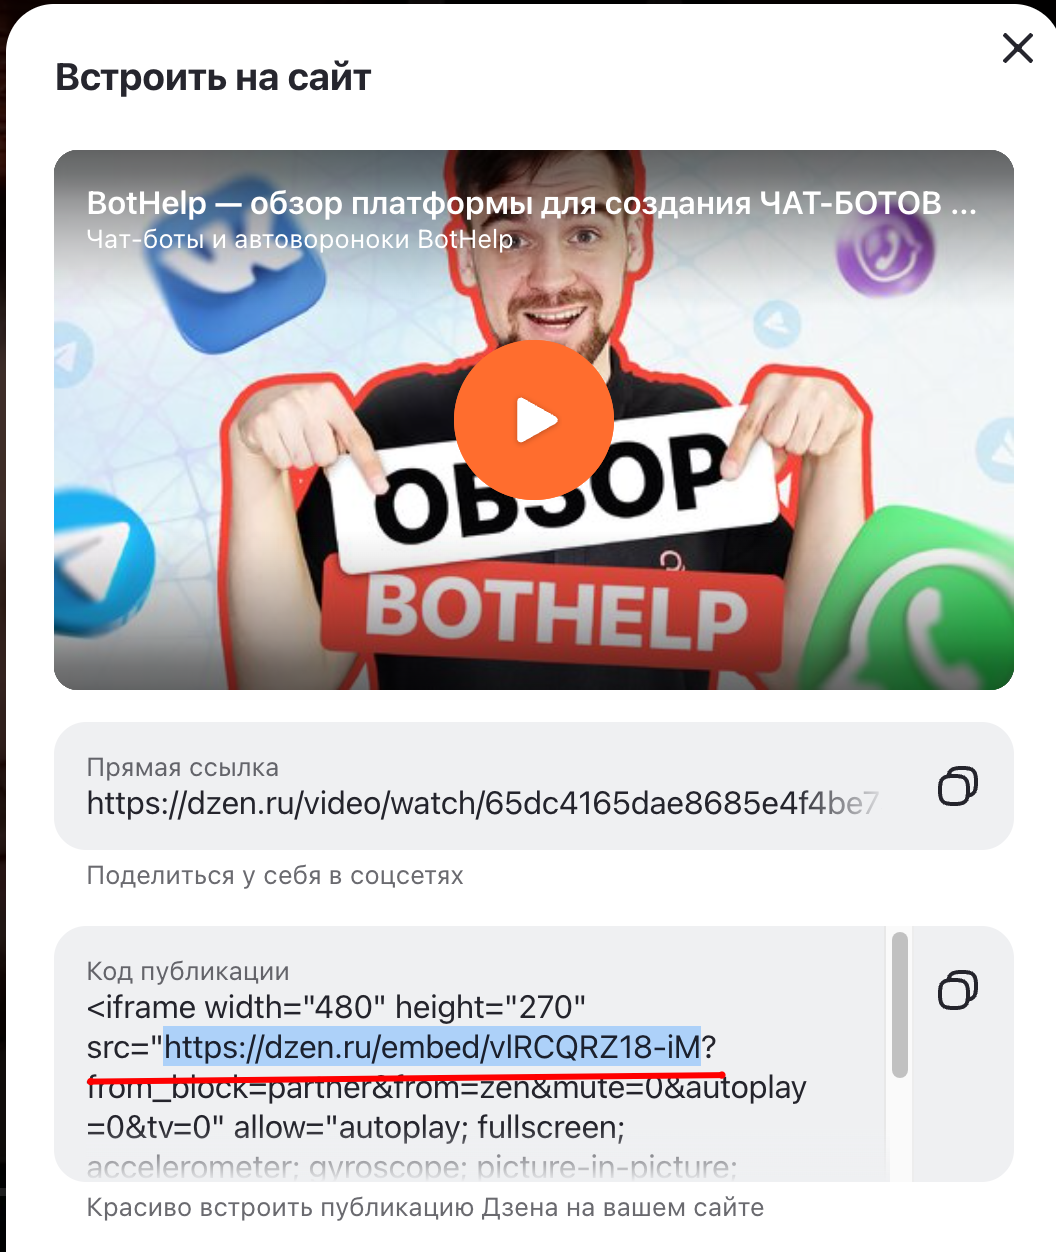
- To add a video from Dzen, go to the "Share" section, "Embed" and copy part of the link from the skin below
4. Headline
Come up with a bright and catchy title. It will be displayed in large bold font on the mini-landing page - in the center or on the left. The maximum length is 1000 characters, but it is optimal to use 3-8 words to maintain brevity and attract attention.
5. Description
Briefly describe your offer — clearly, interestingly, and to the point.
You can format the text, align it left or centered, add emoji and macros.
We recommend choosing the volume so that the entire description, together with the other elements, fits on one screen of a mobile device. The optimal volume is 5–10 lines.
6. Buttons
You can add 5 buttons, one for each connected channel. If the channels are not connected, you will not be able to select the button.
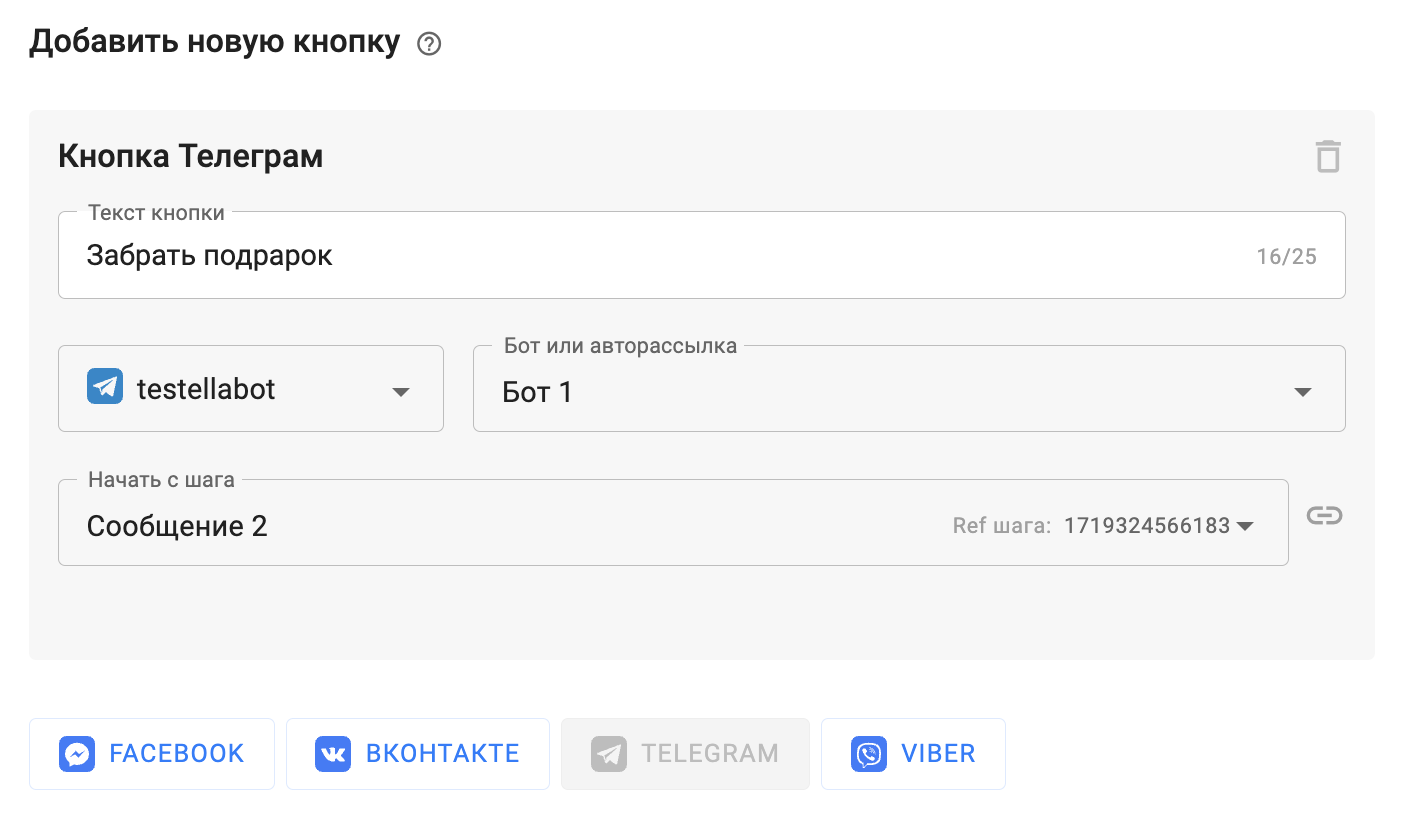
For each button you can configure:
- Button text.
- A bot/auto-mailing list that will be launched by clicking on a button.
- The step the bot will start from.
For VKontakte, you need to select the VK landing page, which will open when you click on the button on the mini-landing page.
(!) For Instagram* there is currently no way to add a button to the mini-landing page.
Advanced settings
Request email and phone number
You can ask for a phone number before the user subscribes. If the person does not enter this information, he will not be able to subscribe to the newsletter.

The entered data is saved in the corresponding field in the subscriber profile. You can export it or send it via webhook to CRM.

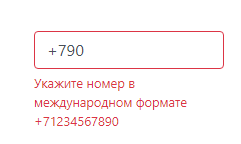
The phone number must be entered using the "+" sign in the international format. The validator will not allow spaces, brackets, or other characters in the number. The allowed number of digits is from 7 to 15.
Label
Assign a tag to all subscribers who subscribe via this landing page. It is by tags that you can later segment subscribers.

UTM tags
Track the effectiveness of your ads and funnel by adding a UTM tag to your mini-landing page link.
Instructions for creating a UTM tag ↗
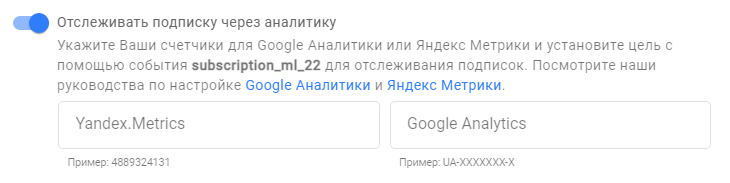
Analytics
Connect the mini-landing page to the Yandex and Google analytics systems. To do this, simply copy the counter number from the analytics system and paste it when setting up the landing page.
Instructions for setting up goals →
Instructions for transferring offline conversions to Yandex.Metrica
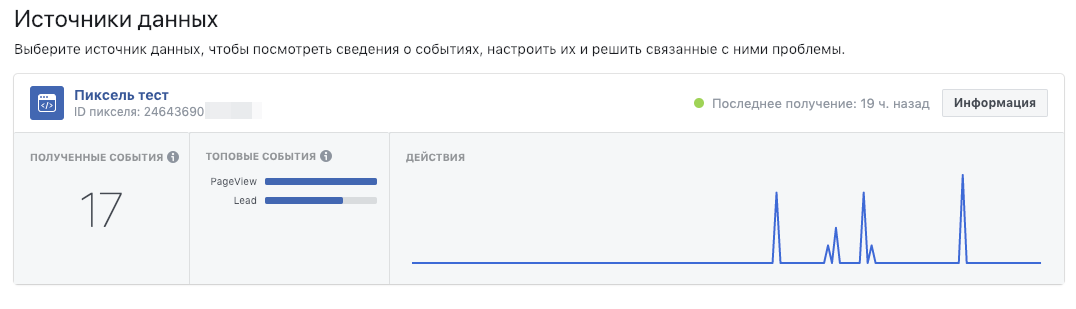
Facebook Pixel*
Set up ads with conversion tracking or create a custom audience for your ads using the Facebook pixel.
VK-pixel
The VKontakte pixel allows you to track all visitors who have visited your landing page and clicked on the button.
Instructions for setting up VK pixel
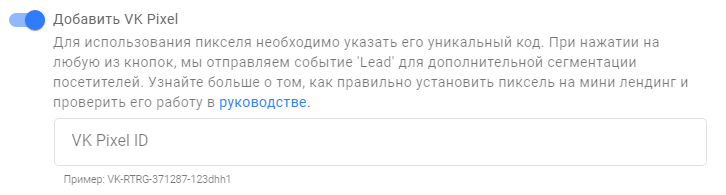
(!) You can place one pixel on several landings. But you need to set up your own events for each landing, otherwise statistics from all landings will be sent to one event.
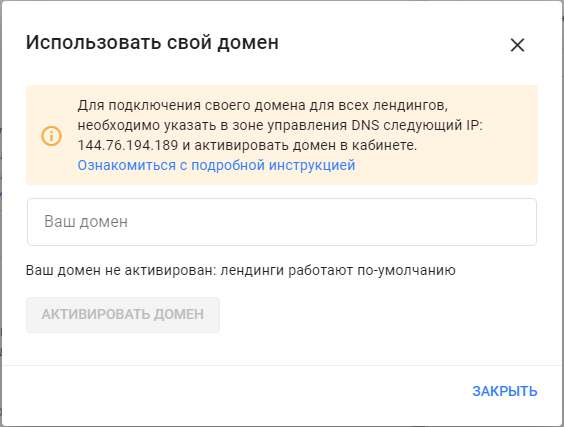
Own domain
You can add your own domain, which will display the mini-landing page created on our platform.
Instructions for setting up your domain
HTML code
You can edit your mini-landing page. Use the "Insert HTML code" function.
Details in the full manual .

How to remove the inscription "Made on BotHelp", see the video instructions:
(!) There is currently no field to edit the page footer or change the privacy policy link.
Set up user agreements
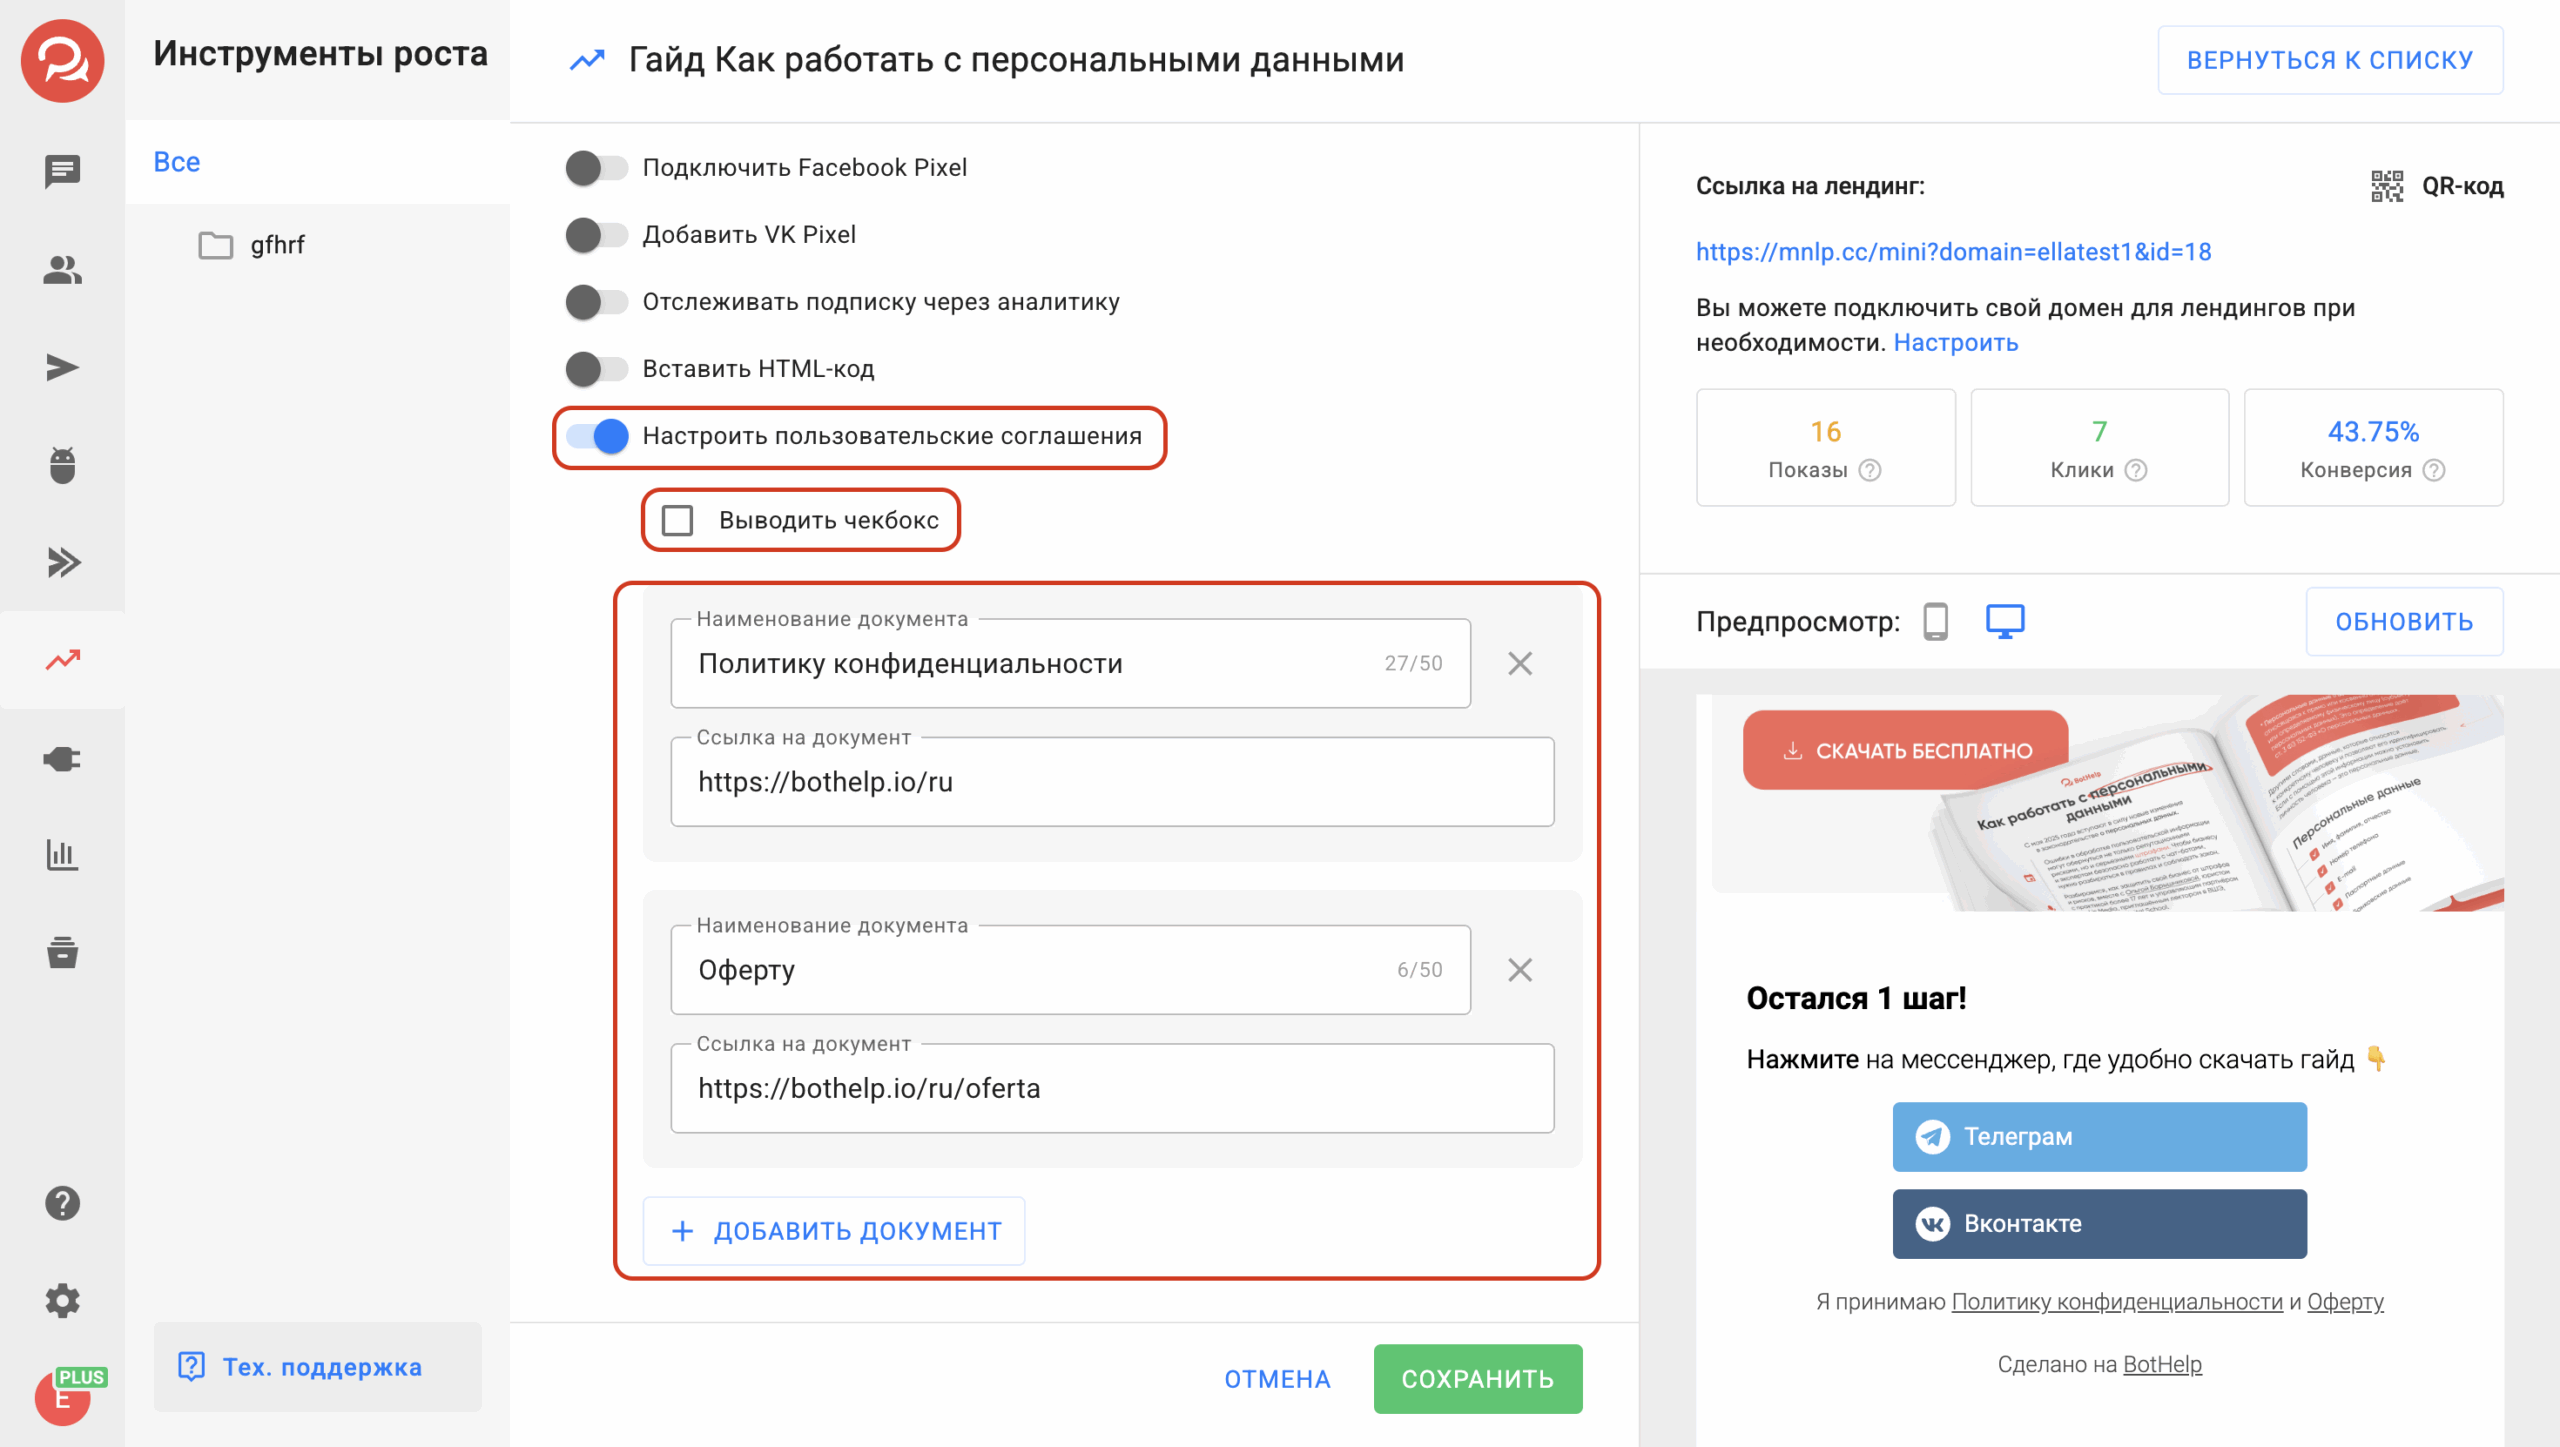
In the mini-landing page settings, you can add up to 5 of your own consent documents , such as:
-
Privacy Policy,
-
Consent to the processing of personal data,
-
other necessary legal documents.
The display of the consent confirmation checkbox .
You can manually enable or disable this element depending on your requirements.
If the checkbox is enabled, the user (lead) will be able to go to the bot only after he/she confirms consent by checking the box.
- When you try to click on the messenger button, an error will occur and the area with the checkbox will be highlighted;
- After activating the checkbox, the transition to the messenger becomes available.
If the "Customize user agreements" the standard consent documents from BotHelp are used by default .
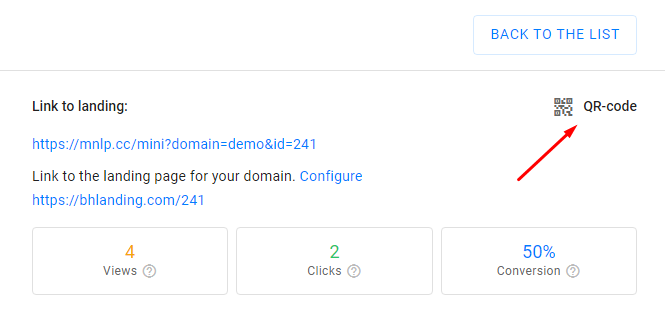
QR code
It is possible to get a QR code for the landing page - this button is in the settings, right next to the link.
* Belongs to the Meta organization, which is banned in the Russian Federation.
If you have not found the answer to your question, ask us in the chat inside your account or write to BotHelpSupportBot or to hello@bothelp.io
Get 14 days of full functionality of the platform for creating mailings, autofunnels and chatbots BotHelp.