Using the scripts described below, you can transfer data from the GetCourse registration form to the BotHelp flow:
- the data specified by the person in the registration form (full name, email, phone, other fields);
- UTM tags from the link of the registration form page;
- other get parameters from the link on the registration form page.
In order for this data to be transmitted, you have to set up the GetCourse registration form.
1. Form settings for transmitting data from pages created in GetCourse
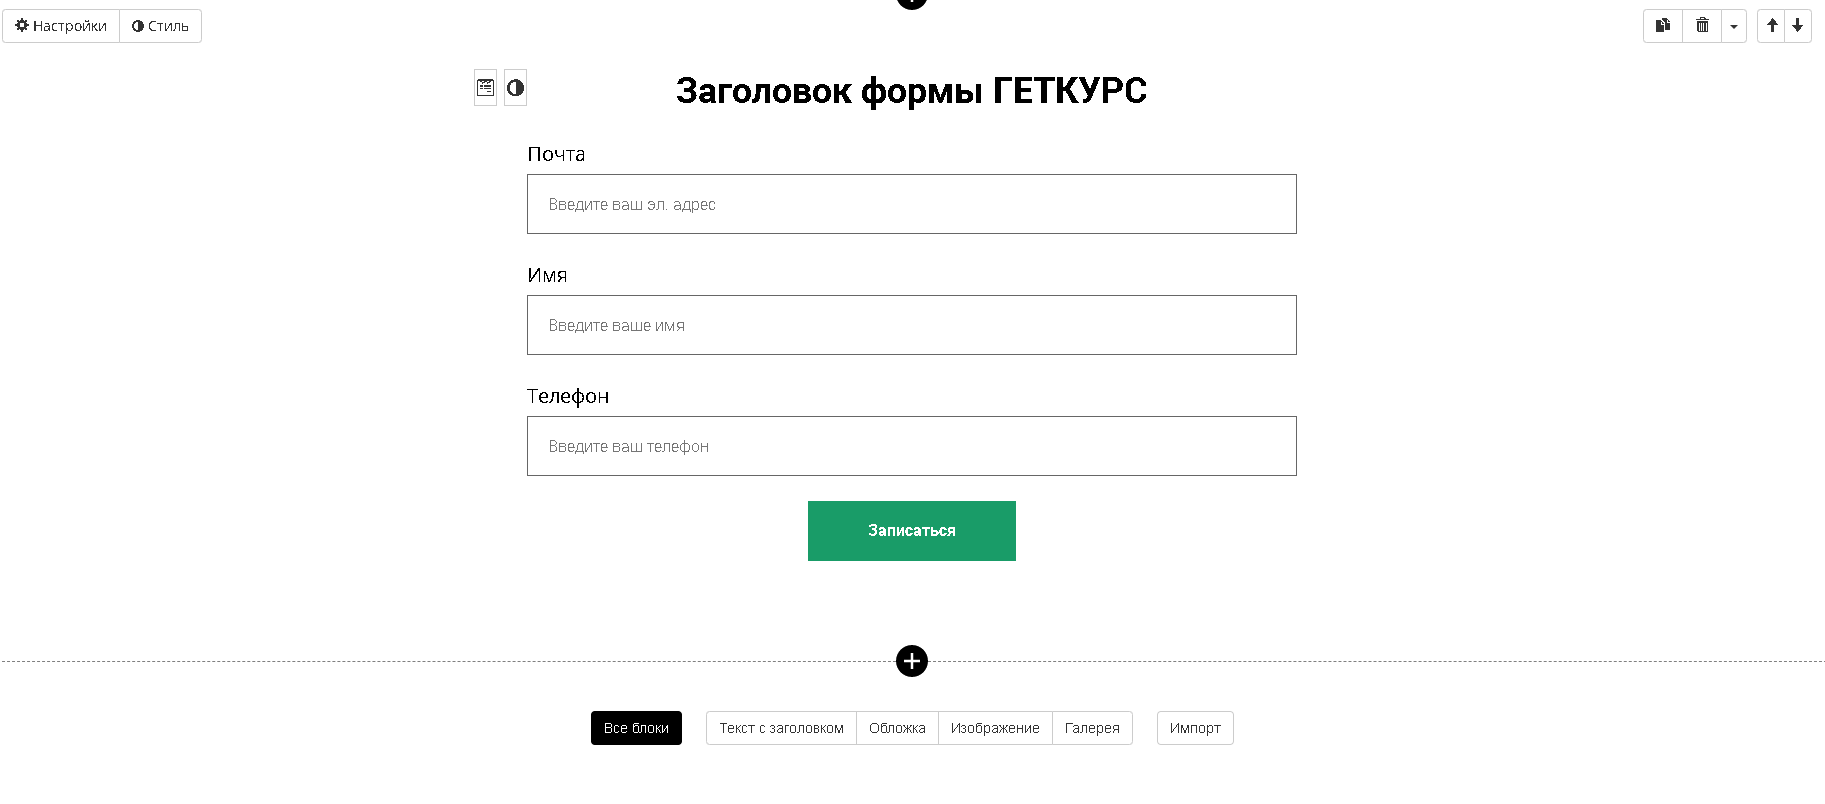
Firstly, you need to create a page on GetCourse and add a standard form with the necessary fields to it.
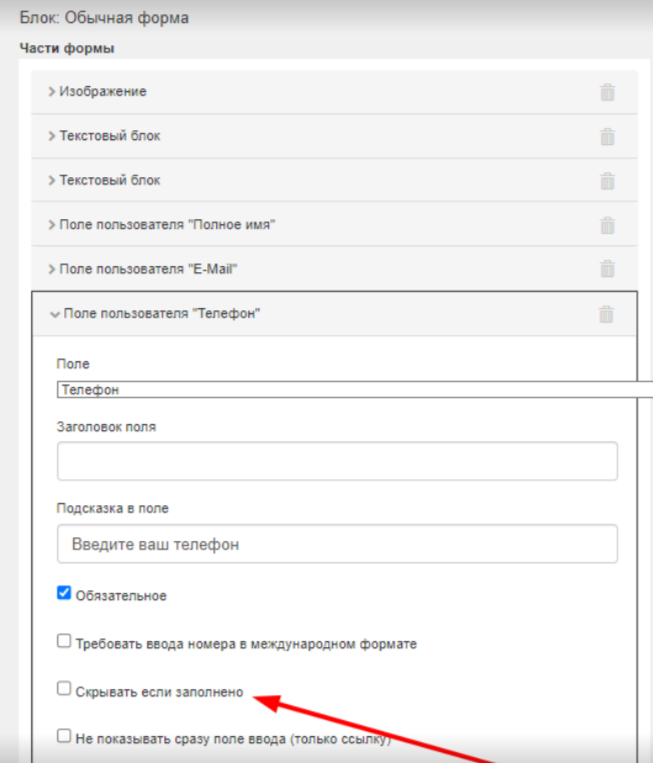
Important! If you check the box “Hide if filled in” in the settings of a specific form field, the data from this field will not be transmitted to BotHelp.
To transfer data from the form, go to the form settings on GetCourse, then to the “Form Handler” section. Add an arbitrary “JavaScript Call” action there and paste the data transfer code into the field that opens (it is given below).
/**
* Script for passing form data as query parameters to a page with widget buttons
*/

(() => {
const FORM_CONTAINER_CLASS = "registration-form";
const REDIRECT_URL = "https://www.google.com/";

const windowRef = window.top !== window.window ? window.top?.[0] ?? window.top : window;
const elementVisible = (elem) => elem.offsetWidth || elem.offsetHeight || elem.getClientRects().length;
const formSelector = `.${FORM_CONTAINER_CLASS.replace(".", "")} form`;
const form = document.querySelector(formSelector);

const url = new URL(REDIRECT_URL);

const windowSearchParams = new URLSearchParams(windowRef.location.search);
windowSearchParams.delete("ref");
windowSearchParams.delete("loc");
windowSearchParams.forEach((value, key) => {
value = value.trim();
if (value) {
url.searchParams.set(key.toLowerCase(), value);
}
});

const formData = new FormData(form);
formData.forEach((value, key) => {
const el = form.querySelector(`[name="${key}"]`);
const isFormValue = key.includes("[") && key.includes("]");
if (elementVisible(el) && value && isFormValue) {
key = key.match(/\[(.*)]/)[1];
key = key === "full_name" ? "name" : key;

value = value.trim();
if (value) {
url.searchParams.set(key.toLowerCase(), value);
}
}
});

windowRef.location.href = url.href;
})();
Important! This script works specifically for the registration form, which is located on the pages of the site created in GetCourse itself. If you are using the GetCourse registration form as a widget for other website builders, then use the script from the next section.
In the second line of the code, const REDIRECT_URL = "https://www.your_page_for_redirect.com"; instead of an example link https://www.your_page_for_redirect.com you need to specify a link to the page where the redirect will be performed from the current page with the registration form. For example:
- To the “Thank You” page with widget buttons. On this page, the person will be able to subscribe to the flow by clicking on the widget button.
- To the Telegram flow (this option won’t work for other messengers). It is important to form such a direct link according to our instructions. Then, after filling out the registration form, the person will immediately subscribe to the flow.
Important! When using this script, you do not need to add the “Redirect” action in the form handler. The script itself redirects to the specified page.
Important! If you add additional arbitrary actions, they have to be placed above the “JavaScript Call” action, since the code contains a redirect to the next page. If this is not done, subsequent arbitrary actions will not be performed.
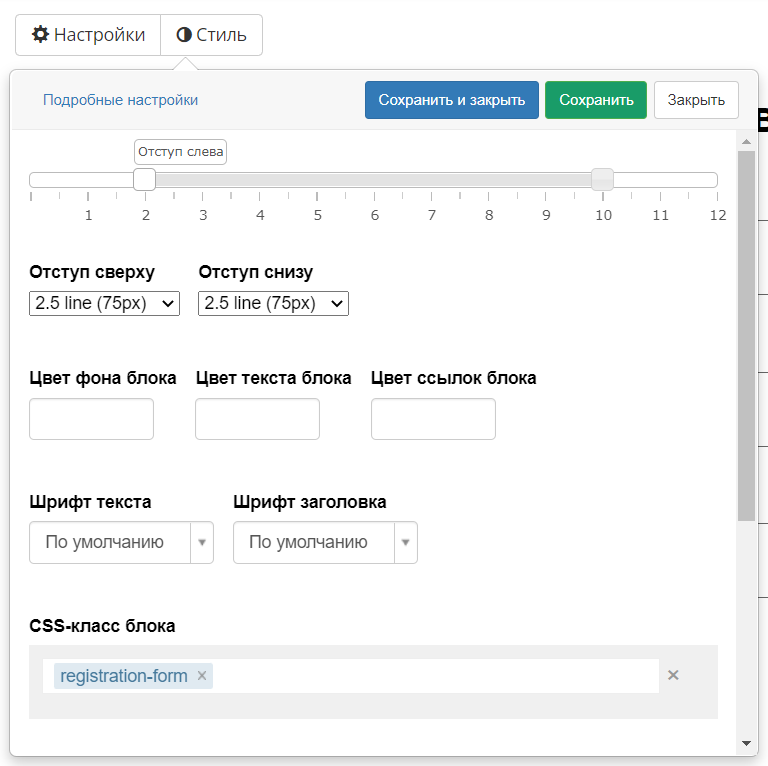
Important! Make sure that the CSS style is present in the form. To do this, go to settings by clicking the Style button. The “registration-form” style should be specified in the lowest field of the “CSS class of the block”.

2. GetCourse widget settings for transmitting data from pages created on other site builders
When creating the widget, select “Form” and then go to the form settings. Add an arbitrary “JavaScript Call” action and set the code for data transmission in the field that opens.
The widget code does not require any additional settings or parameters.
The main difference between the form settings and the widget form settings is the absence of CSS styles in the latter. Styles have to be added manually.
The style for the form on the page wasregistration-form, the same style should be used for the widget.
Important! Make sure to check that the CSS style is present in the form. To do this, go to settings by clicking the Style button. The “registration-form” style should be specified in the lowest field of the “CSS class of the block”.
IMPORTANT! If you want to set a different style for the widget, specify the same style in the first line of the data transfer code:
(() => { const FORM_CONTAINER_CLASS = "your-chosen-style";
To transfer data from the form, go to the form settings on GetCourse. In the settings, in the “Form Handler” section, you have to add an arbitrary action, namely “JavaScript Call” and insert the code for data transfer into the field that opens.
/**
* Script for passing form data as query parameters to a page with widget buttons
*/

(() => {
const FORM_CONTAINER_CLASS = "registration-form";
const REDIRECT_URL = "https://www.google.com/";

const windowRef = window.top !== window.window ? window.top : window;
const elementVisible = (elem) => elem.offsetWidth || elem.offsetHeight || elem.getClientRects().length;
const formSelector = `.${FORM_CONTAINER_CLASS.replace(".", "")} form`;
const form = document.querySelector(formSelector);

const url = new URL(REDIRECT_URL);

const windowSearchParams = new URLSearchParams(windowRef.location.search);
windowSearchParams.forEach((value, key) => {
value = value.trim();
if (value) {
url.searchParams.set(key.toLowerCase(), value);
}
});

const formData = new FormData(form);
formData.forEach((value, key) => {
const el = form.querySelector(`[name="${key}"]`);
const isFormValue = key.includes("[") && key.includes("]");
if (elementVisible(el) && value && isFormValue) {
key = key.match(/\[(.*)]/)[1];
key = key === "full_name" ? "name" : key;

value = value.trim();
if (value) {
url.searchParams.set(key.toLowerCase(), value);
}
}
});

windowRef.location.href = url.href;
})();
Important! This script works specifically for the registration form in the form of a widget, which is located on the pages of a site made in other constructors, and not on GetCourse.
In the second line of the code, const REDIRECT_URL = "https://www.your_page_for_redirect.com"; instead of an example link https://www.your_page_for_redirect.com you have to specify the link to which the redirect will be performed from the current page with the registration form. For example:
- To the “Thank You” page with widget buttons. On this page, the person will be able to subscribe to the flow by clicking the widget button;
- To the Telegram flow (this option won’t work for other messengers). It is important to form such a direct link according to our instructions. Then, after filling out the registration form, the person will immediately subscribe to the flow.
Important! When using this script, you do not need to add the “Redirect” action in the form handler. The script itself will redirect to the specified page.
Important! If you add additional arbitrary actions, they have to be placed above the “JavaScript Call” action, since the code contains a redirect to the next page. If this is not done, then subsequent arbitrary actions will not be performed.
FAQ
Can the widget be placed only on the page created in GetCourse, or on other sites too? Like Tilda, for example?
The GetCourse widget can be used on third-party services or on your website.
If you haven’t found the answer to your question, contact us in the chat in your profile or email hello@bothelp.io😃
Get 14 days of full functionality of BotHelp, a platform for creating broadcasting, autofunnels, and chatbots.