This is an instruction on how to give people different materials after accepting payment. It will be useful for those who want to give users the opportunity to choose a product depending on its cost.
This opportunity is often available in online schools. An example of such a tariff line:
- Only lesson recordings.
- Lesson recordings + curator.
- Lesson recordings + private lessons.
Setting up in BotHelp
We need to set up payment acceptance for the first product. Available for BotHelp:
- accepting payments via YooMoney
- accepting payments via YooKassa
- accepting payments via Robokassa
- integrating with GetCourse
After you have selected the payment system and set up the first payment page, copy it.

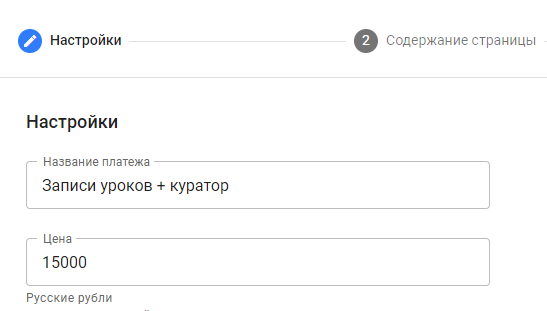
Go to the copy settings, change the automation name and price.
Go to the page content settings, specify the title of the payment page, the main text with the product description, and the text on the button.
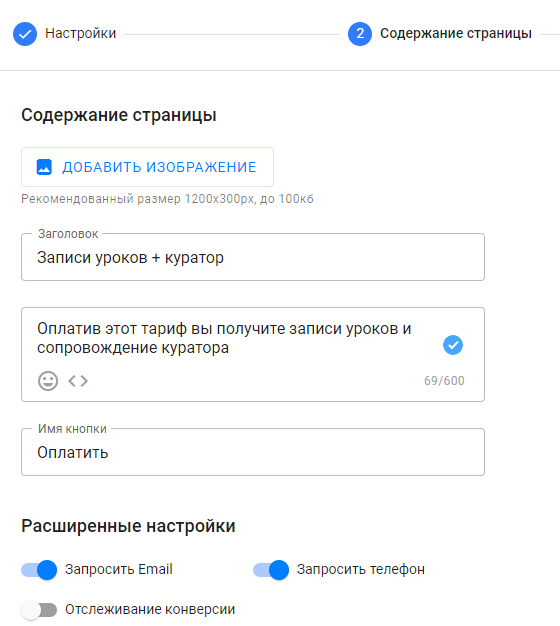
You can also add or change an image in the copy, if necessary.
On the next settings page, change the action and the text of the message that follows the payment.
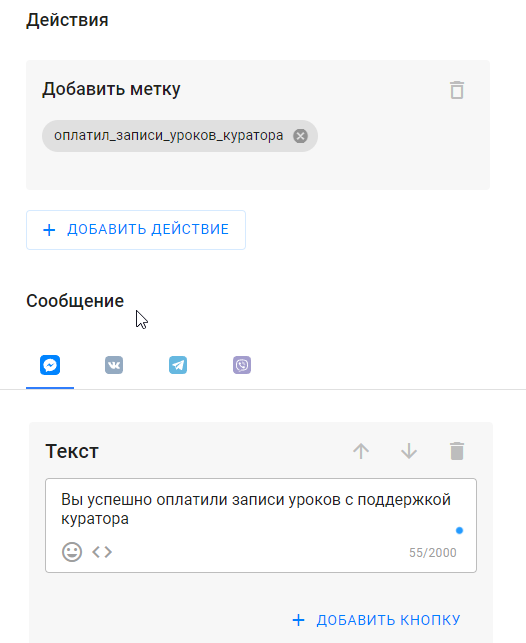
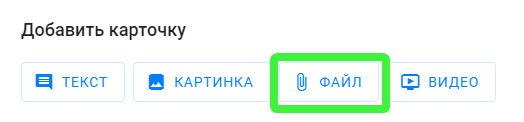
Actions include assigning a tag, as well as launching a flow chain or a sequence. In the successful payment message, you can immediately send any paid digital product using the “file” block.
For the third and subsequent products, the previous steps have to be repeated.
If you haven’t found the answer to your question, contact us in the chat in your profile or email hello@bothelp.io😃
Get 14 days of full functionality of BotHelp, a platform for creating broadcasting, autofunnels, and chatbots.