You will need a setup Yookassa to connect.
Sign up for Yookassa using a special link and get a 2.8% acquiring rate for the following methods: bank cards, YooMoney wallet, SberPay and Purchases on credit on an ongoing basis.
Sign-up link: https://yookassa.ru/joinups/?source=bothelp
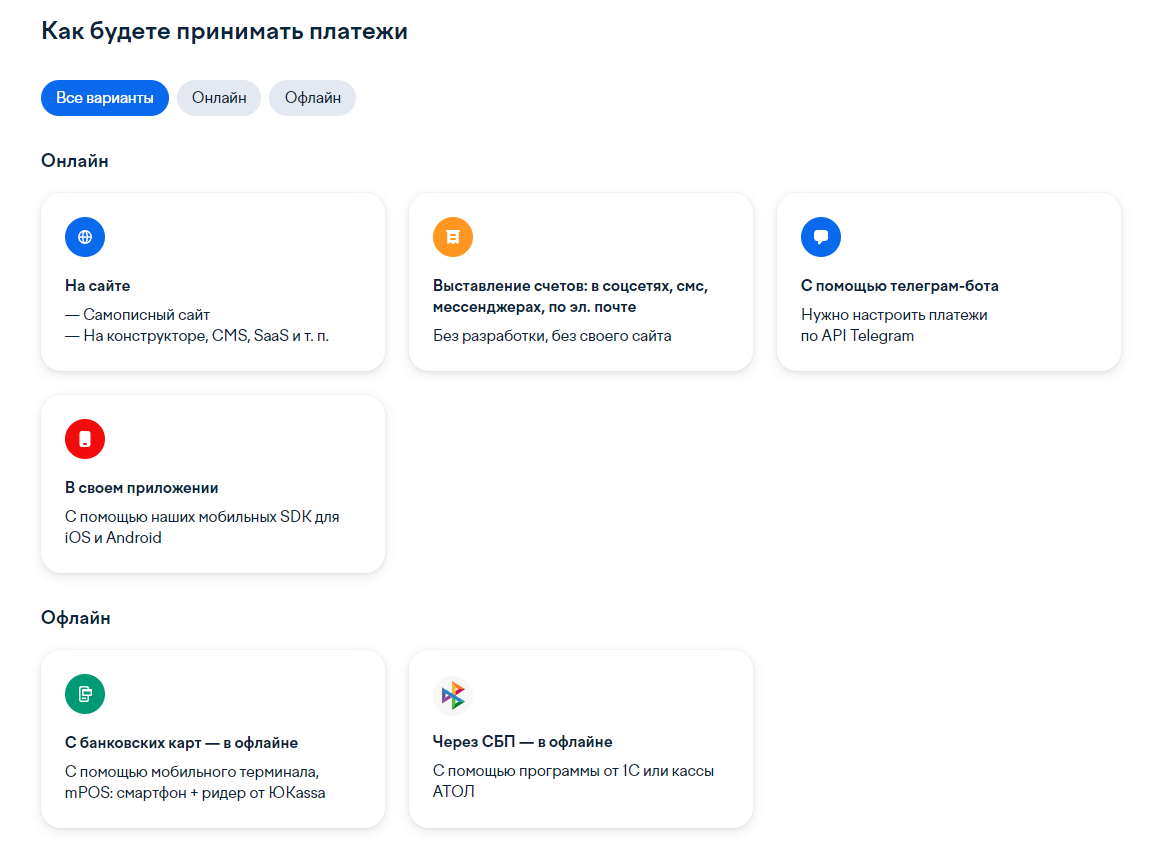
Our integration displays the payment methods that are set up inside Yookassa. Therefore, add the payment methods that you need.
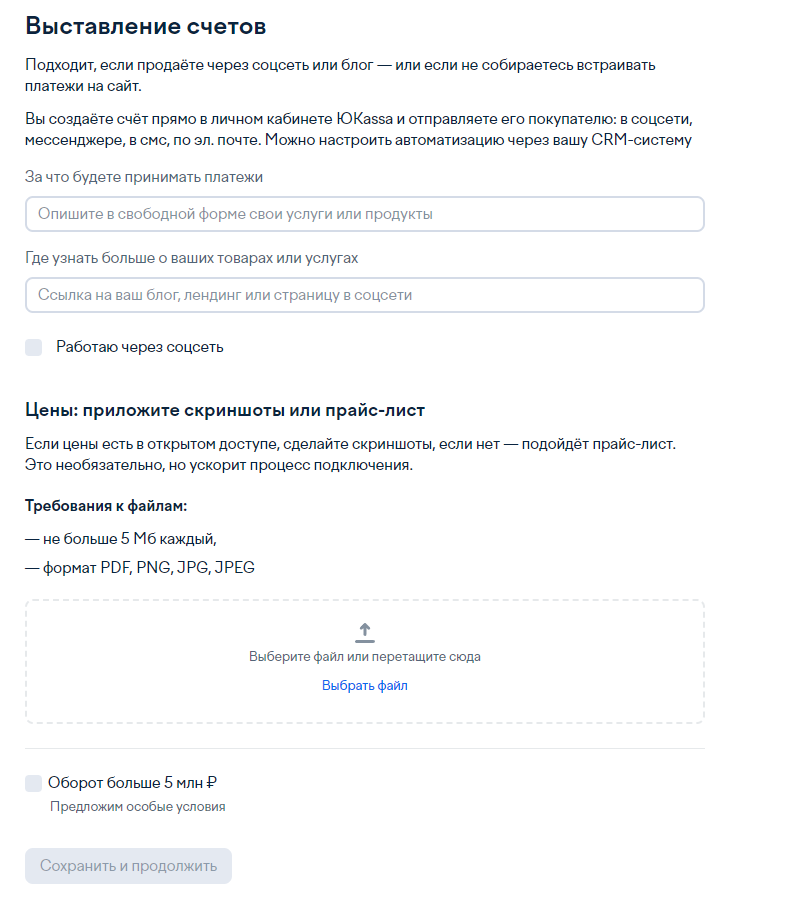
You will first need to get approval for payment registration in Yookassa. To do this, select the following in the payment acceptance settings: Billing: in social media, SMS, messengers, email.
After that, enter the required data and click Save and Continue. After approval, you will be able to set up integration with Yookassa.
Creating automation in BotHelp
1. Go to the “Automation” section — “Payment acceptance”.
2. Click the “Create payment” button.
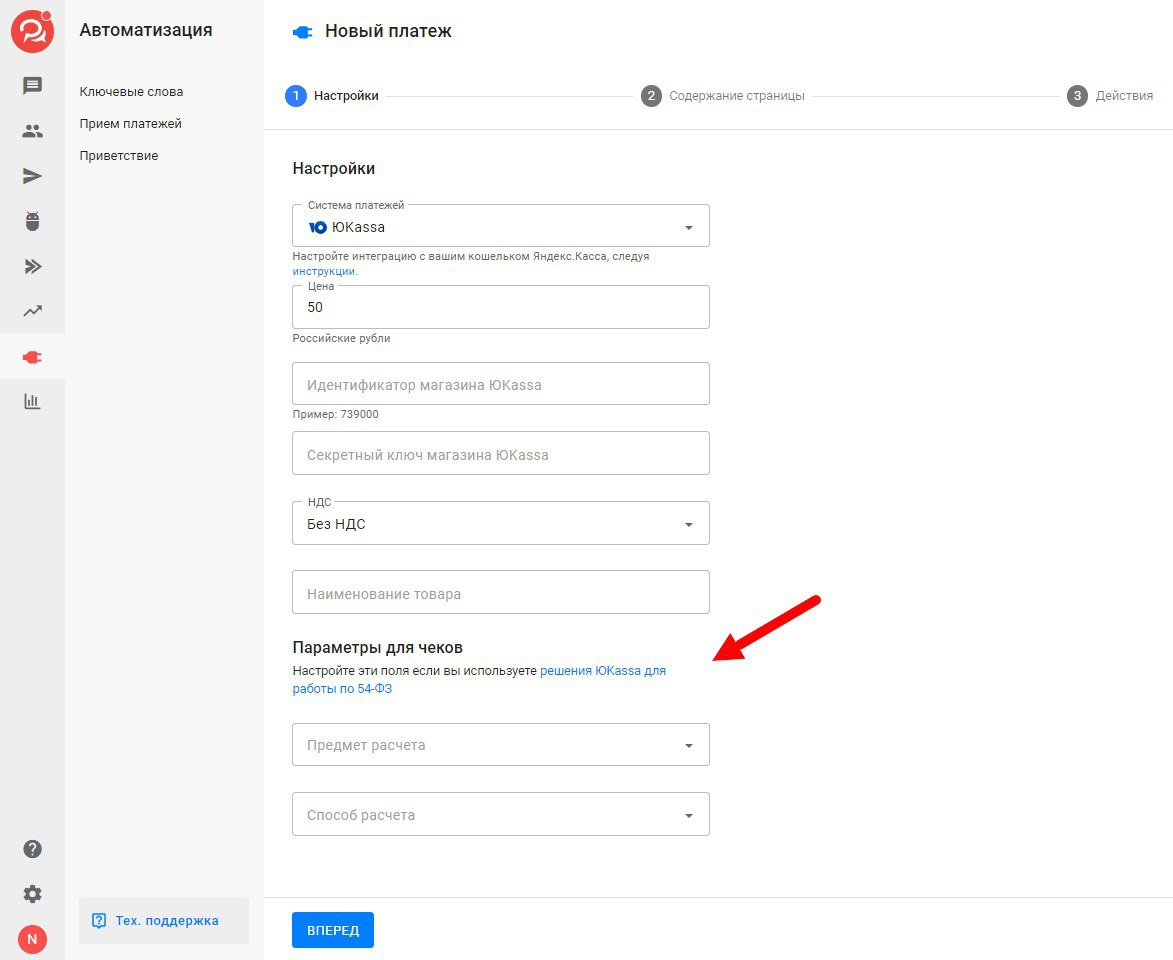
3. Give a name to the payment and specify the amount.
At the first setup, specify a small amount of 10 rubles to test the payment operation.
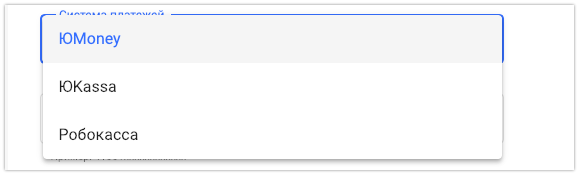
4. Select the Yookassa option in the “Payment system” field.
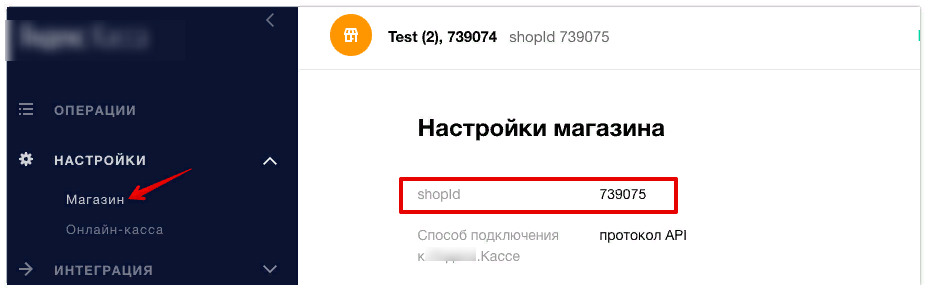
5. Specify the Yookassa store ID.
The ID can be viewed in the store settings under shopId.
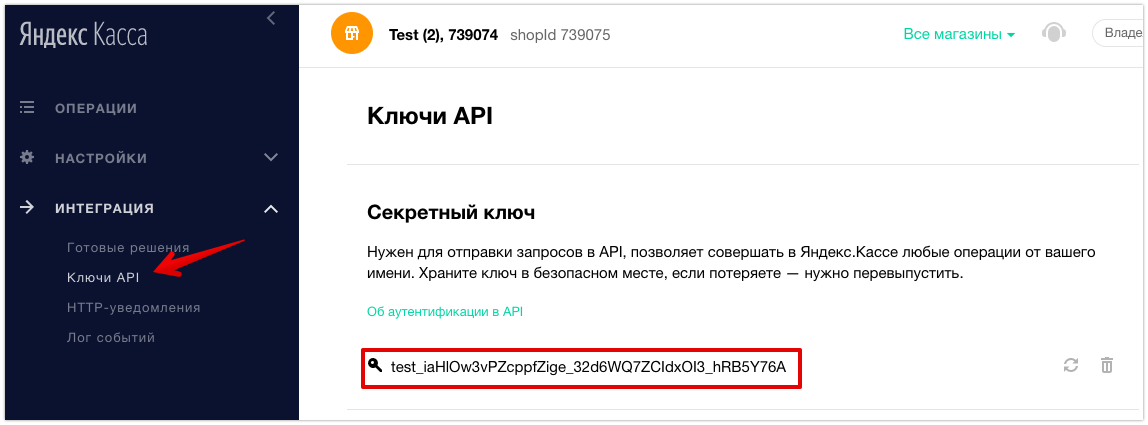
6. Specify the store’s secret key.
The key can be found in the “Integration” section — “API Keys”. If you haven’t released the key yet, follow the instructions and create it.
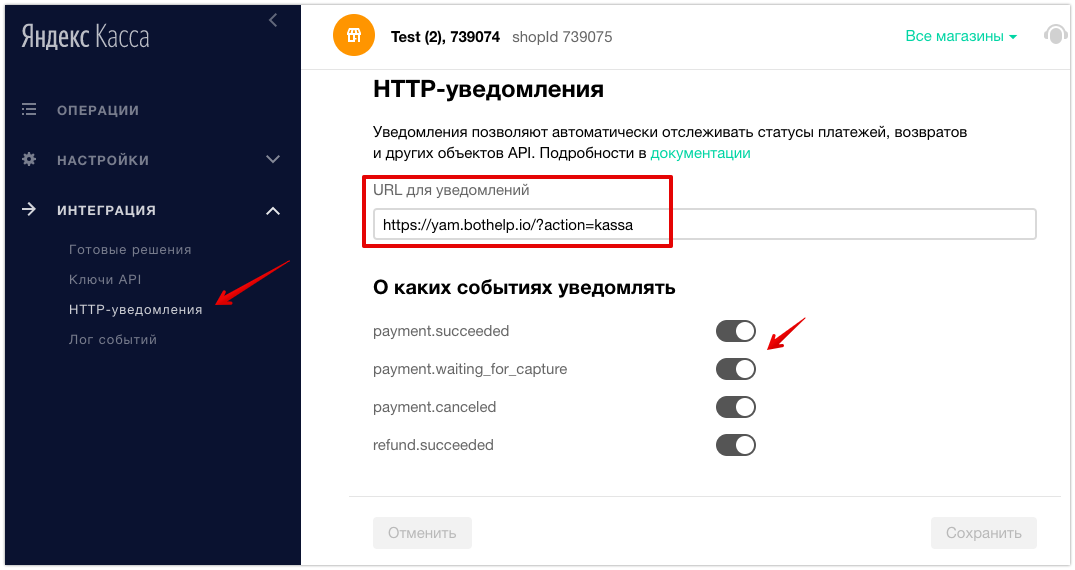
7. HTTP notifications.
In the “Integration” section — “HTTP notifications”, in the “Notification URL” field enter the address https://yam.bothelp.io/?action=kassa. And also activate all possible types of notifications.
8. VAT rate.
Select the VAT percentage, if necessary, or specify “Without VAT”.
9. Specify the product name.
10. Parameters for receipts.
If you use Yookassa solutions for working under 54-FZ, then set up the “Payment subject” and “Payment method” fields when setting up the payment in the receipt parameters.
The content of the payment landing page
In the “Page content” tab, set up the appearance of the payment landing page.
- Enter the title.
- Add an image.
- Enter a description.
- Add a button.
Advanced settings
By default, the email and phone fields are selected. This is a Yookassa requirement, and it cannot be disabled.
You can also add conversion tracking via Yandex Metrika and Google Analytics.
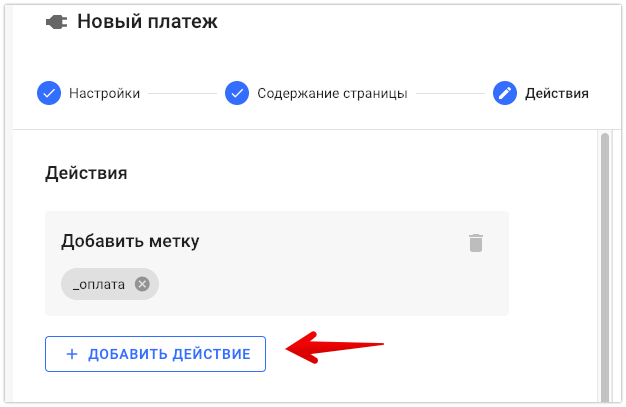
Setting up actions
Go to the “Actions” section and set up what should happen after the person pays for the product.
For example, you can assign a tag and launch another flow or sequence.
! The specified actions and messages will not work for Instagram* channels.
Testing
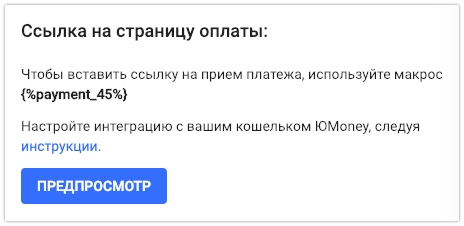
After setting up, be sure to check the automation operation. Go to the conversation with your profile and edit the macro of the created automation. For example: {%payment_33%}
The macro is specified in the automation settings.
Example of a message:
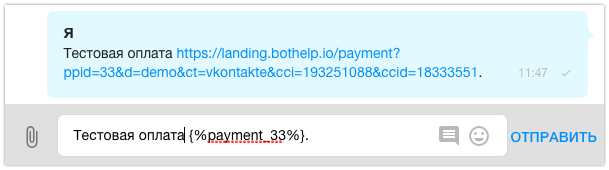
Please note that the payment link is generated after sending the message and only works within the correspondence with this user. You cannot send this link in another messenger, to another user, or in another system. The payment works only through a macro.
Follow the link from the message in the messenger and test the payment. After a successful test, you can use this macro in other messages in the chain.

* Owned by Meta, an organization recognized as extremist and banned in Russia.
If you haven’t found the answer to your question, contact us in the chat in your profile or email hello@bothelp.io😃
Get 14 days of full functionality of BotHelp, a platform for creating broadcasting, autofunnels, and chatbots.