Using the “External Request” Action
With the External Request action, you can send or request information from external services, then receive a response and save it into subscriber custom fields.
Below is the simplest scenario for using the External Request action. This example is far from real-world complexity but demonstrates the setup steps and full functionality of the External Request.
Scenario Description and Setup
In this example, we use the API from the service swapi.dev. It stores information about the Star Wars film series: movie titles, character names and traits, descriptions of vehicles, planets, species, and so on.
In other words, this service is a Wikipedia for the Star Wars universe.
Scenario Steps
-
The subscriber enters the bot.
-
The bot sends a request to swapi.dev with the subscriber’s ID.
-
The service returns a description of the character whose ID matches the subscriber’s ID.
-
The bot saves the character’s name into a custom field and displays it to the subscriber.
Bot Setup
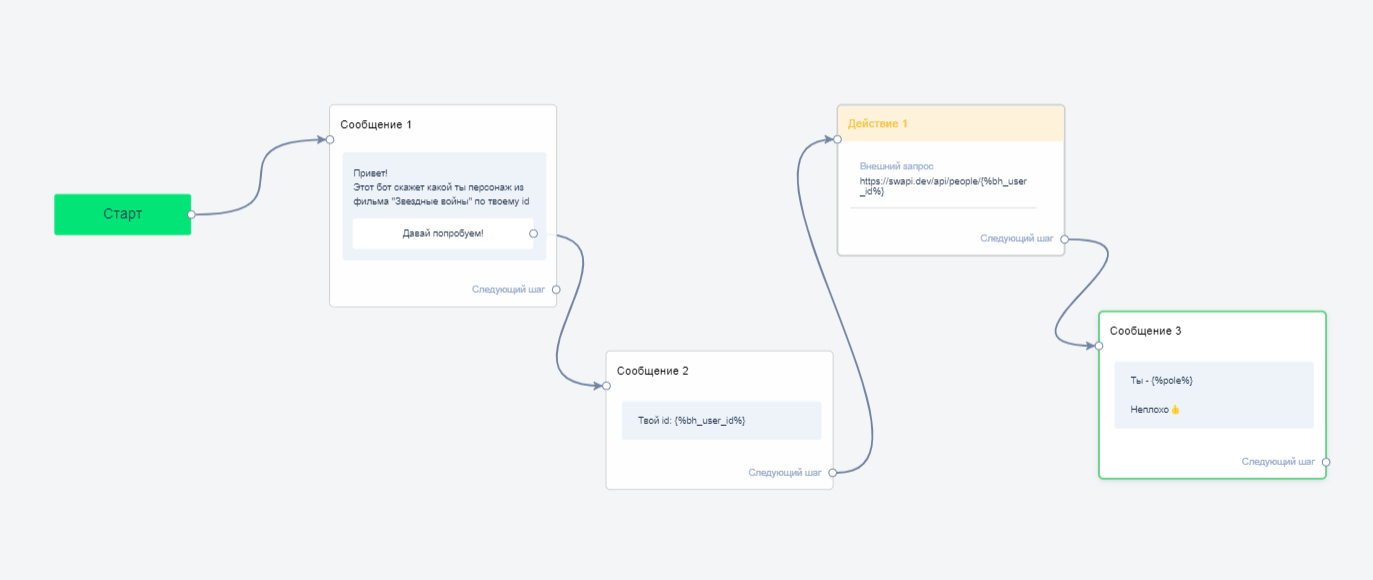
Build a simple bot flow:
-
Add block Message 1.
-
Write a greeting text.
-
Add a button to go to the next step.
-
Add block Message 2.
-
Display the subscriber’s ID.
-
The external service will use this ID to find the character in its database.

-
Add block Action 1.
-
Select the External Request action. The External Request settings are described below.
-
Add block Message 3.
-
Display the custom field where you will save the name returned from the external service.
-
Connect all blocks. You will get a simple bot like this.
External Request Setup
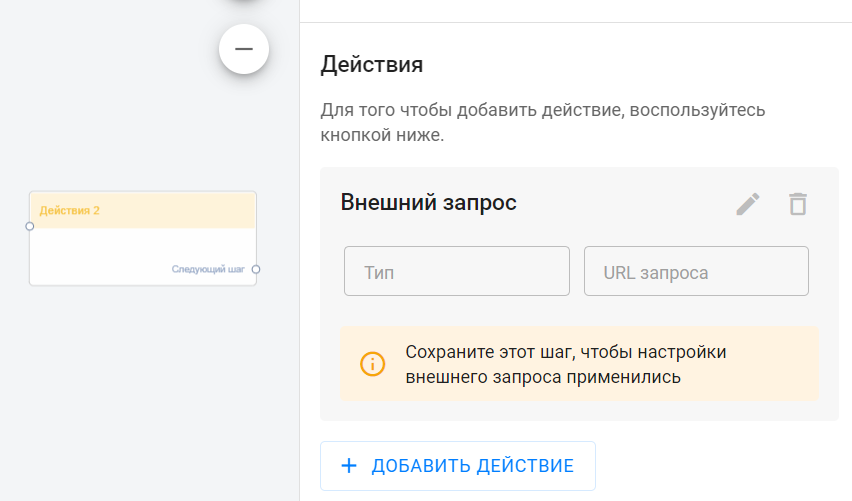
After adding the External Request action in Action 1 block, click the pencil icon to open the External Request editing window. All further settings happen here.
-
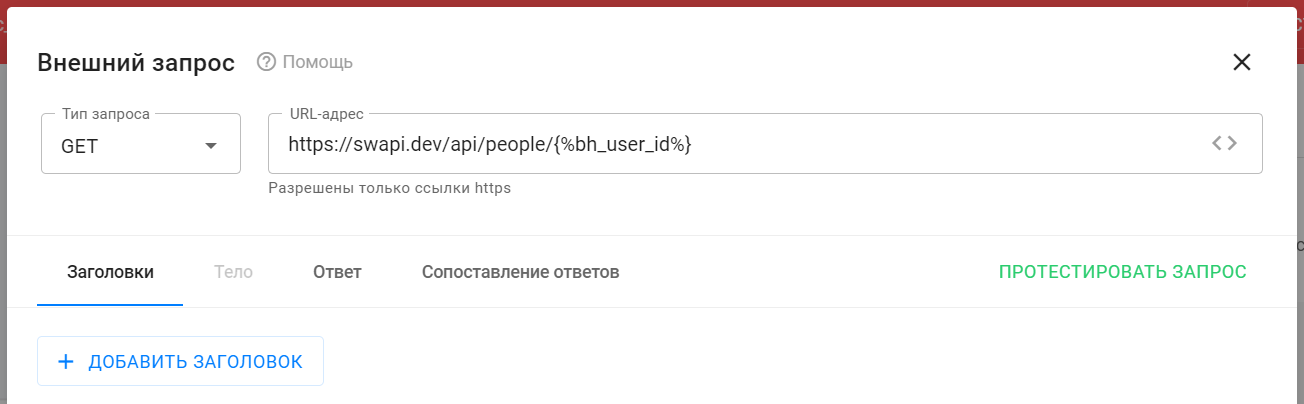
Enter the request URL.
For swapi.dev, choose the API method returning character details:https://swapi.dev/api/people/1/ -
Copy and paste the URL into the URL field.
-
Replace the fixed ID “1” with a macro that automatically inserts the subscriber’s internal ID.
Click the<>icon in the URL field and select the appropriate macro. -
The final URL should look like this:
https://swapi.dev/api/people/{%bh_user_id%} -
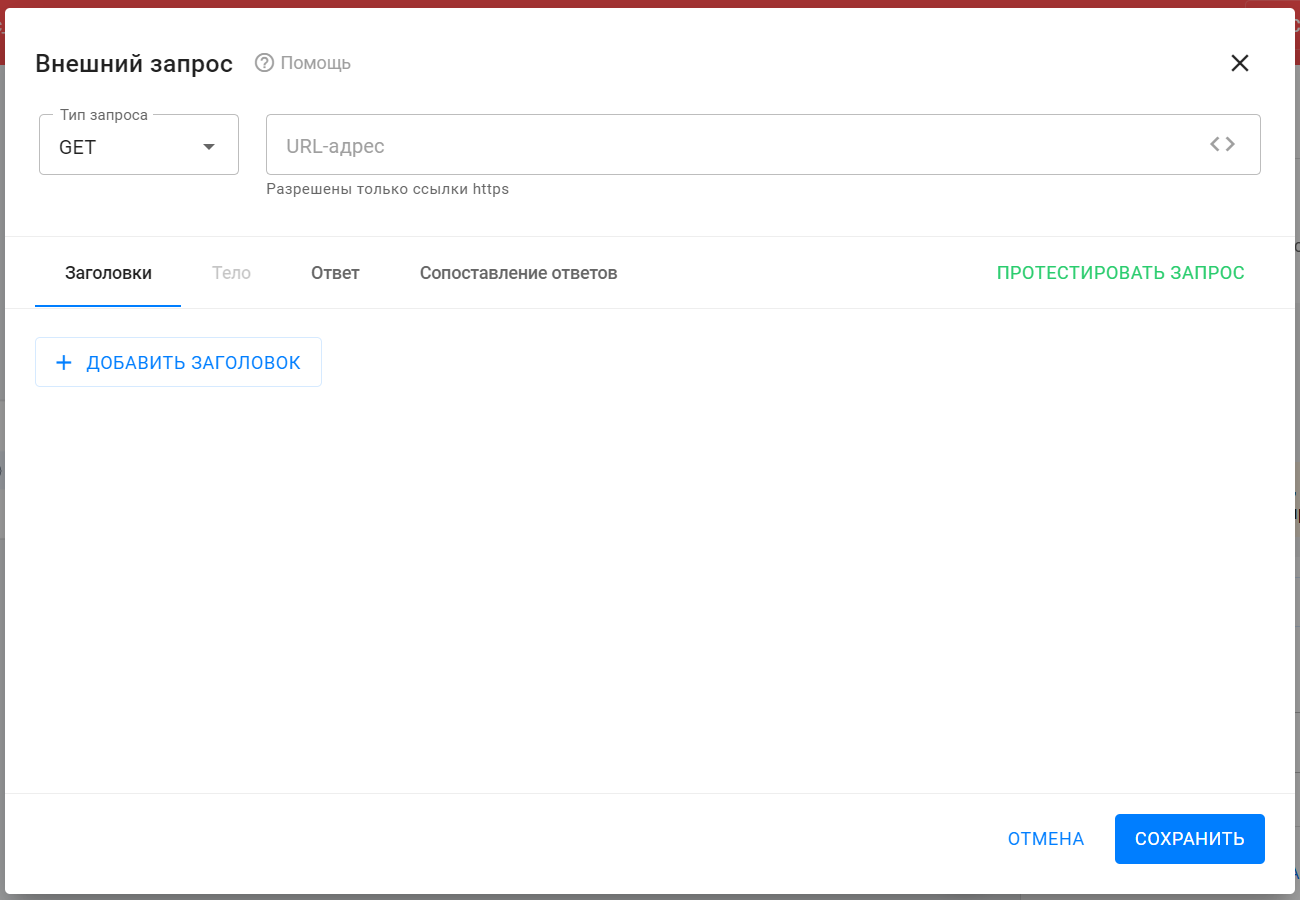
Choose the request type.
This request is a GET request. Select GET from the dropdown.
-
This method does not require headers or body, so proceed to test the request.
-
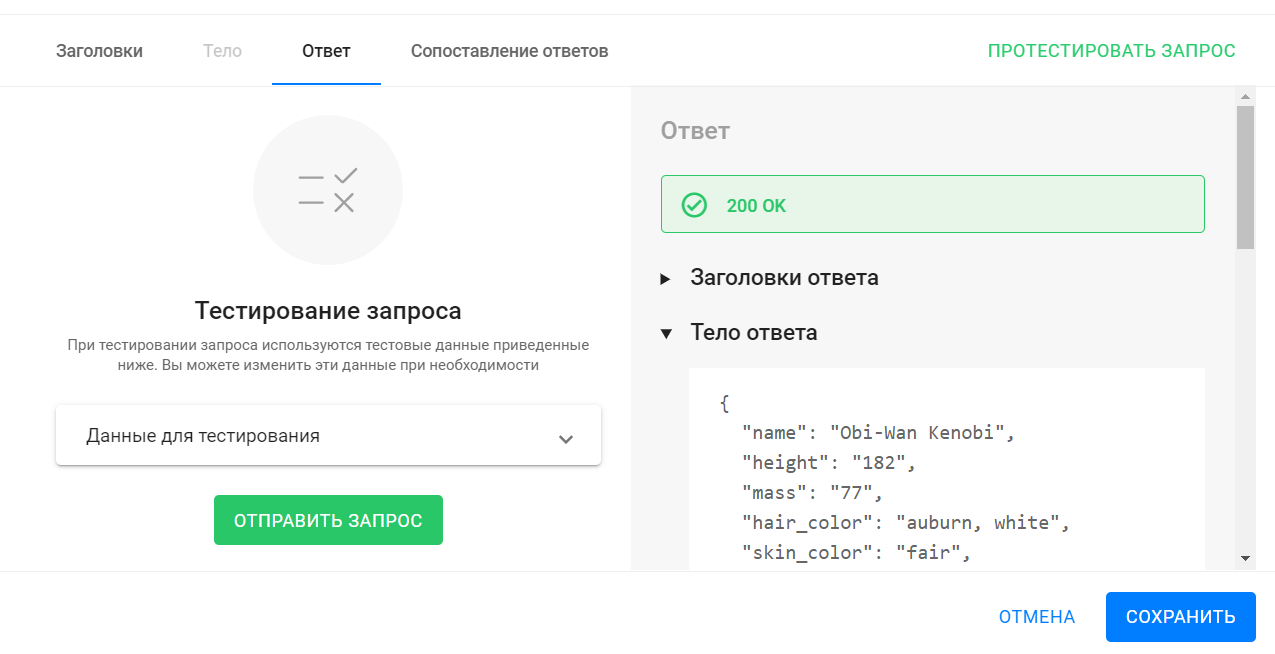
To verify the request works and the service returns a valid response, go to the Response tab or click Test Request.
-
In the opened tab, you see test data for the macros. The default value is “10”. You can change it if needed.
-
Press Send Request to start the test.
-
A “200 OK” status means the external service received your request and returned a response successfully.
-
On the right side in the Response Body section, you can see the response data.
-
You are interested in the
"name"field value. This is what you will save automatically into the subscriber’s custom field.
Mapping the Response
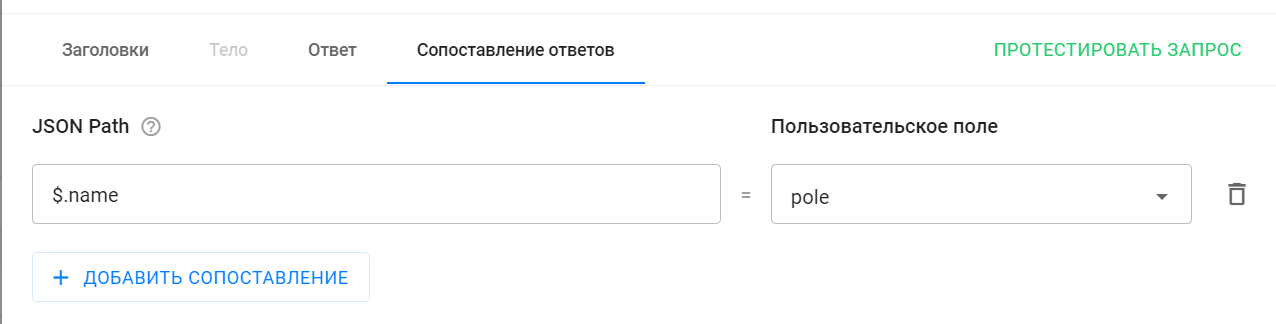
Mapping allows you to set logic to extract the required field from the response body and save it into a specified subscriber custom field.
-
Specify 1) the path to the field in the response body (JSON Path) and 2) the subscriber’s custom field where to save it.
-
Add a mapping and fill in the fields.
-
The JSON Path value
$.namereturns the"name"field from the response body.
For example, the test response contained the value"Obi-Wan Kenobi".
-
Finish the External Request setup.
-
Be sure to save the settings by clicking Save.
-
Also, save the Action 1 step settings by clicking Save and Close.
Testing the Bot with External Request
-
Run the bot test.
-
You will get a message flow like this:

“I am Darth Vader, who are you? 🙂”
If you did not find the answer to your question, feel free to contact us in the chat inside your dashboard, message us on Telegram at @BotHelpSupportBot, or email us at hello@bothelp.io.
Get 14 Days of Full Access to the Platform
Enjoy the full functionality of the BotHelp platform for creating broadcasts, automated funnels, and chatbots — free for 14 days.